How do you solve the 'no input' error of your monitor?
What do you need?
5 steps to connect your monitor correctly

The following 5 steps will hep you set up a functioning connection between your desktop and your new monitor.
- Step 1. Check your cable.
- Step 2. Use a different monitor or computer.
- Step 3. Check and update your video card.
- Step 4. Use the ports on the video card.
- Step 5. Use the OSD and set up the cable preferences.
Step 1: check if you have the right cable

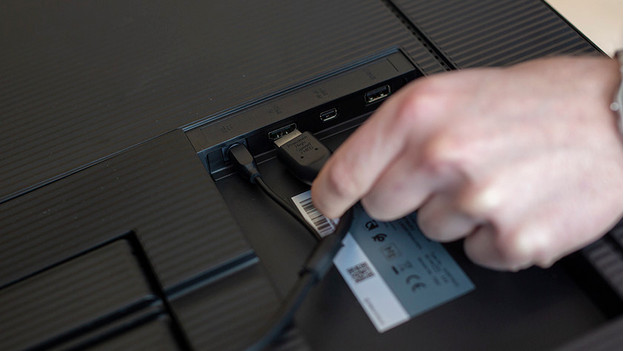
Detach the video cable and plug it back into the monitor and the desktop. Do you have an HDMI cable? Use an HDMI port. Insert the cable firmly into the port. A loose cable doesn't transmit the image properly. This happens more often than you might think. Still don't see anything on your monitor? Use a different cable. Did you use an HDMI cable the first time? Try a DisplayPort cable if you have one. Still no image? Go to step 2.
Step 2: use a different computer or monitor

Now that we know the cables aren't the problem, let's have a look at the status of your desktop or monitor. Connect a different monitor to the desktop, one that you know for sure works. Don't get an image? The problem probably lies with the graphics card of your desktop. You can draw the same conclusion if you connect the monitor to a different desktop and do get an image.
Step 3: check and update your video card

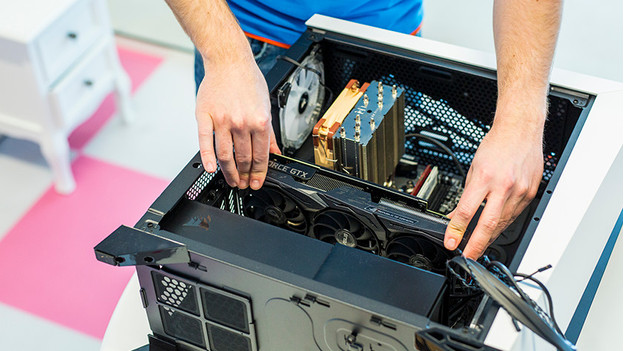
Problems with your video card can be divided into 2 groups. It can be a physical problem if your video card hasn't been placed in the motherboard correctly. Screw open the side of your desktop and carefully push the card in place for a better connection. Still don't see an image? In that case, the software of your video card isn't up to date. Connect your desktop to an old monitor that does work and go through the following steps.
- Click on the Windows start button, type in 'Device manager', and open the screen on the image.
- Choose 'Display adaptors'. You now see your graphics card in the list. It's most likely an Intel, NVIDIA, or AMD.
- Right-click on the graphics card and click on 'Properties'.
- Click on the tab 'Driver' and click 'Uninstall'.
- After uninstalling, you install the new updates of your video card. Go to the website of the manufacturer of your video card, type in which video card you have, and download the software.
- The software automatically recognizes your video card and searches for the newest drivers. Your PC reboots a couple of times during the installation.
Step 4: use the ports on the video card

Don't get an image after the update either? Connect the monitor directly to the ports on your video card instead of those on the motherboard. This way, you avoid the connection issues between your motherboard and graphics card. If your monitor displays an image now, you can go to step 5.
Step 5: use the OSD and set up the cable preferences

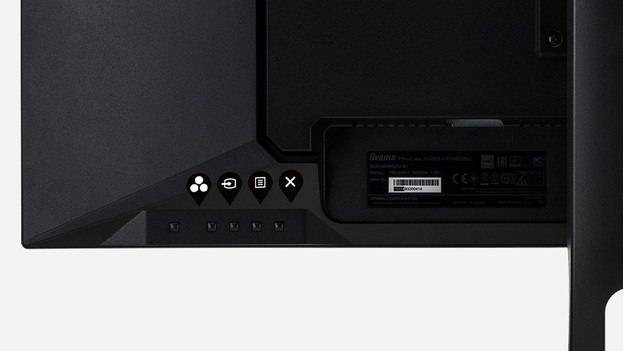
Open the OSD menu via the buttons on the monitor. Usually, you can find these in the corner on the bottom right. Go to the tab where you can select the input. Choose the input you want to use. Do you have an HDMI cable? Choose HDMI. Still don't see anything when you connect your new monitor? There's most likely something wrong with your monitor.
Can't get it to work?
Were you unable to get your screen working after these 5 tips and do you still get a black screen with the 'no input' error message? Contact Customer Service to discuss what we can do for you.


