
Written by Caitlin
Edited on
28 January 2025
·
08:54
How do you build in an electric cooktop?
It takes quite a bit of experience to build in an electric cooktop. That's because you'll have to work with plugs and electricity. Don't you have any experience connecting electrical appliances? Call in a certified technician. On this page, we'll explain how to build in an electric cooktop in 5 steps.

Connect and build in an electric cooktop in 5 steps
In order to build in the electric cooktop correctly, it's important that you follow the 5 steps below.
- Step 1: connect the cable
- Step 2: attach the sealing tape
- Step 3: place the cooktop in the cutout
- Step 4: fix the cooktop in place
- Step 5: plug the plug into the socket
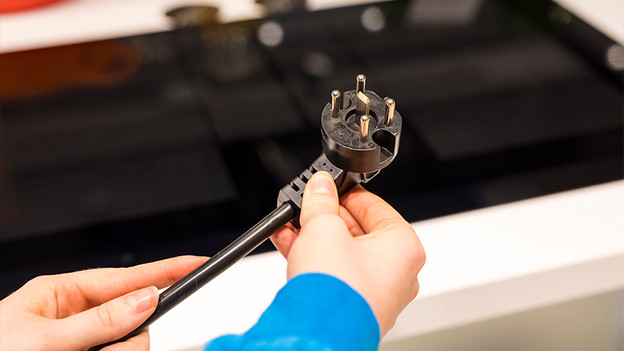
Step 1: connect the cable
Before you place the cooktop in the cutout, you first attach the connection cable and plug. That's because these are difficult to reach once the cooktop is placed in the countertop. Don't have any experience with working with electronic appliances? Let a certified technician take care of it.
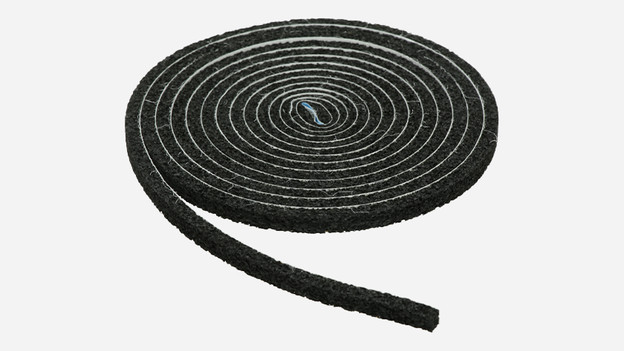
Step 2: attach the sealing tape
Attach the sealing tape to the cooktop if it's not attached yet. You can buy the tape at the hardware store. It'll keep water from getting underneath the cooktop. This is how you prevent a short circuit when your pot accidentally boils over.
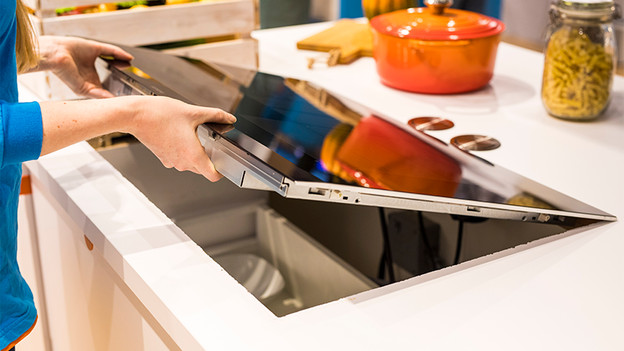
Step 3: place the cooktop in the cutout
Lower the cooktop into the cutout. It's important that the cooktop is nice and level, so the edges connect well to the countertop with the help of the sealing tape. You don't have to glue it. In fact, we recommend you don't. When you're removing the cooktop, there's a good chance the glue will damage the cooktop and the countertop.
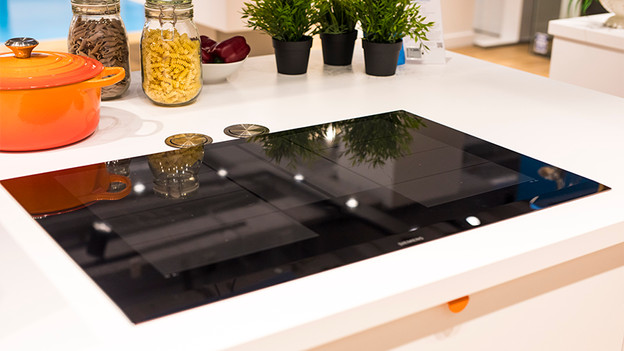
Step 4: fix the cooktop in place
This step is only necessary if your cooktop has clamps that keep the cooktop in place. For many induction cooktops, this isn't necessary because the weight and resistance keep the cooktop in place without difficulty. Does your cooktop have clamps? Attach these to the cooktop.
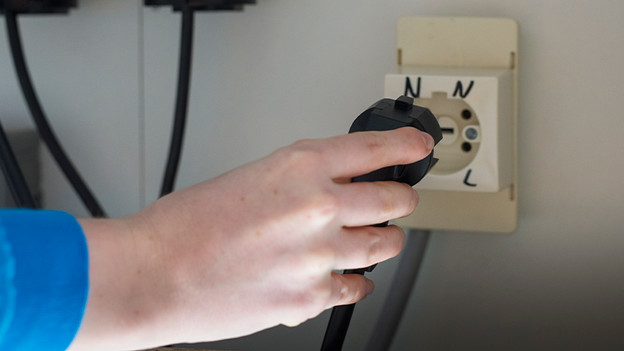
Step 5: plug the plug into the socket
Is your cooktop set up correctly? That means you're almost there. Plug the plug into the socket. Turn the cooktop on and check if everything works as it should. And if it doesn't? Contact a certified technician.
Article by Caitlin
Cooktop Expert.
