

This is how you can take the best photos in the forest
Tip 1: explore the area in advance
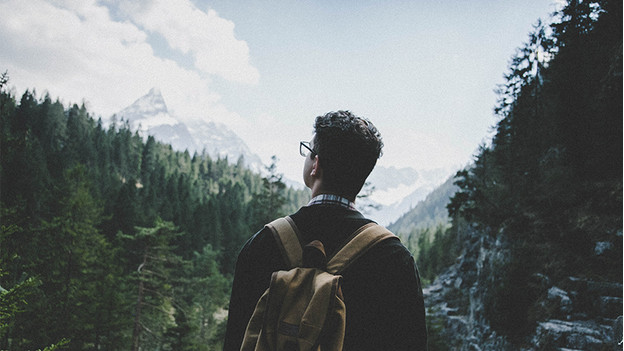
Photographers who look at their subject for a long time take the nicest photos. The same applies to nature photos. Take the time to calmly walk around the forest where you're going to take photos. If you don't know the forest that well, you can discover the nicest areas this way. You can also explore the forest before you take your camera with you. This way, you can also enjoy the nature extra much.
Tip 2: think about the composition
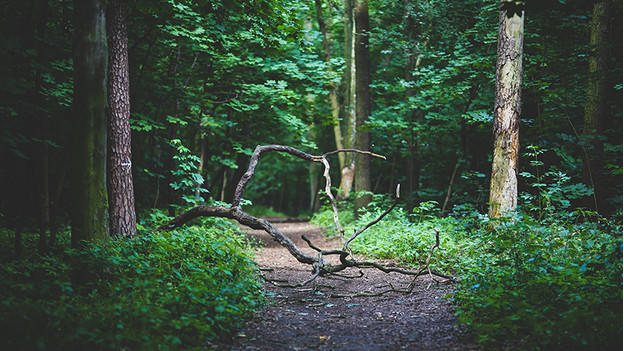
In the forest, you might literally not see the forest from the trees. With the right composition, you can fit the forest nicely in frame. Try to create depth. You can do that by following a row of trees along a path, for example. Or use a fallen tree as foreground so you can see how deep the forest is better. That allows you to show the size of the forest.
Tip 3: use the right lighting
In the forest, it easily gets dark, so you risk an underexposed photo. You can prevent that with the right lighting settings. Don't set the ISO value too high, because that can result in noise in your photo. Use a longer shutter speed to expose the image sensor to the light for longer. Do use a tripod for you camera, because a longer shutter speed can result in motion blur.
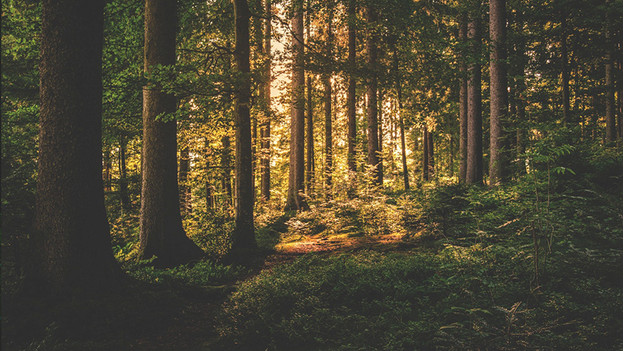
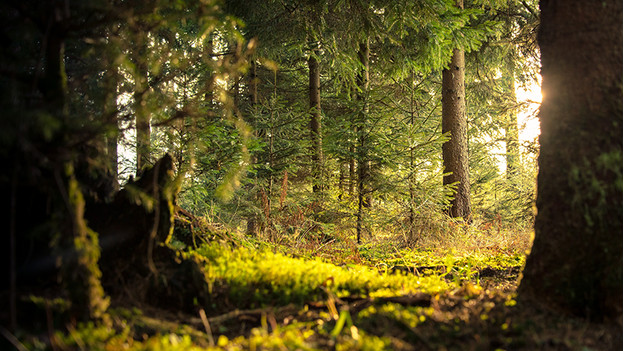
Tip 4: choose a nice color for your photo
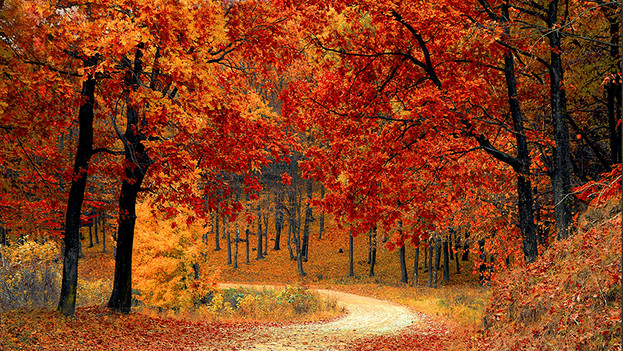
If you go out with your camera during the golden hour, you can take photos in the forest in special lighting. Everything will get a soft golden hue. You can edit this later in editing programs, but you can also choose to adjust the white balance for nicer colors. If you choose a high Kelvin value, your photo will become a bit more orange and red. This way, you'll get a nice image with a warmer look.
Tip 5: photograph in RAW
In the forest, there's often a large contrast between light and dark, so you might not always get the lighting right. Always take photos of the forest in RAW format. This way, you have more freedom when you edit it afterwards on the computer. For example, you can bring back the light in underexposed photos. If you perfect the lighting later, you'll also get the opportunity to emphasize the rays of light between the trees better.