
How do I set up my Bose SoundTouch speaker on the computer?
Installing Bose SoundTouch on your computer in 10 steps
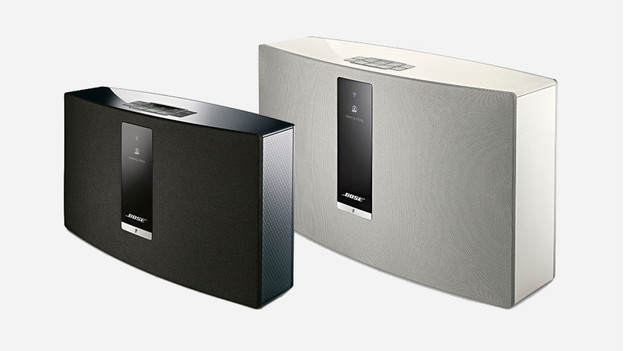
Step 1: Turn on your PC
Step 2: Connect the device to the wall socket
Step 3: Download the Bose SoundTouch program
Step 4: Open the program
Step 5: Connect to the internet
Step 6: Connect to WiFi or Ethernet
Step 7: connect the USB cable
Step 8: Name your speaker
Step 9: Create an account
Step 10: Add a music service
Step 1: turn on your PC
Start your Windows or Mac computer.
Step 2: plug the device into a socket
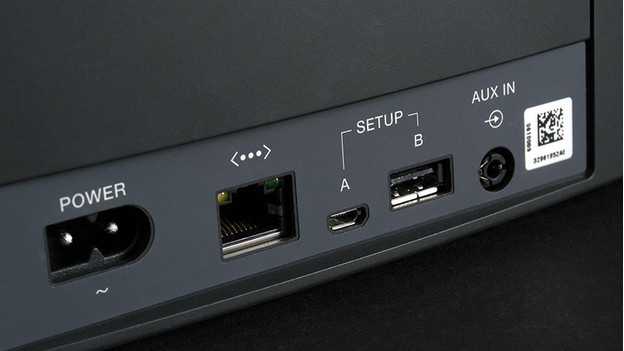
In order to plug the Bose SoundTouch speaker in a socket, you'll need to use the included power cord. The input for AC power can be found on the back of the speaker. You can see the power button at the top of your speaker. Press that button to turn on the speaker.
Step 3: download the Bose SoundTouch program
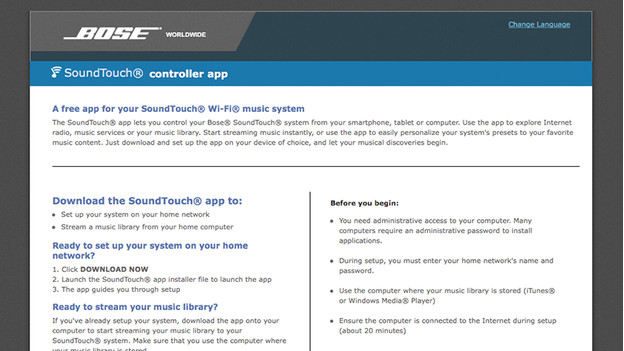
Download the Bose SoundTouch program. Click the link below to do so. Once the link has opened, select Windows or Mac and click download now.
The program will be downloaded to your computer.
- Once the program has finished downloading, click 'Next'.
- Then, you have to agree to the terms and conditions.
- Now, click 'Next'. The computer will ask you if you trust the Bose SoundTouch program. Click 'Yes'.
- You'll automatically return to the program. Then, click 'Finish'.
Step 4: open the program
Once the program has been installed on your computer or laptop, the Bose SoundTouch program will be opened automatically. Click on get started.
Step 5: connect to the Internet
The program will ask you how you want to connect the speaker to the Internet. You can do so in 2 ways: via WiFi or Ethernet.
Option 1: WiFi
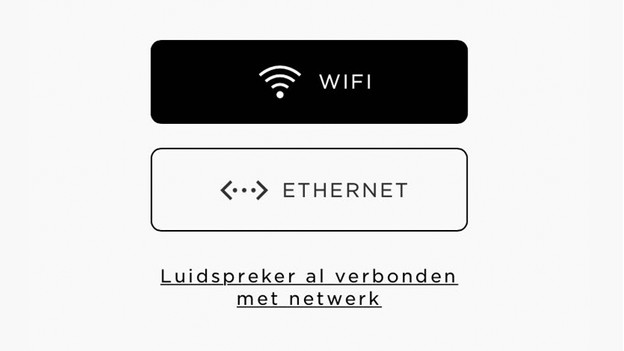
Click on WiFi if you want to connect the Bose SoundTouch to the WiFi network. Choose this option if you plan to regularly move around the speaker.
Option 2: Ethernet
Ethernet means an internet connection using a network cable. If you choose this option, you need to use the included network cable. This option is great if you don't have a reliable WiFi signal nearby and if you're planning on keeping the speaker in a fixed spot.
Stap 6: connecting to WiFi or Ethernet
WiFi
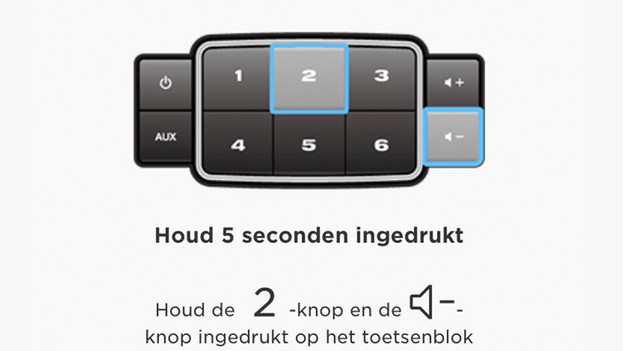
Select the temporary WiFi network Bose SoundTouch. If this network isn't visible, click on "I don't see this network". Next, press and hold the 2 button and the volume down button for 5 seconds. The picture shows you how. Can't get your speaker to connect to your WiFi network? Read the article below to find out what the different colors of WiFi symbols on your speaker mean.
Select the Bose SoundTouch network from the available WiFi networks. You'll now be led to a screen to select your home WiFi network. Click on it. Now fill in your WiFi home network password.
Ethernet
The input for the Ethernet connection can be found on the back of your speaker. Above the input, you'll see the following symbol: <···>. Plug in the included network cable and connect it your router. Now click next.
Step 7: connect the USB cable
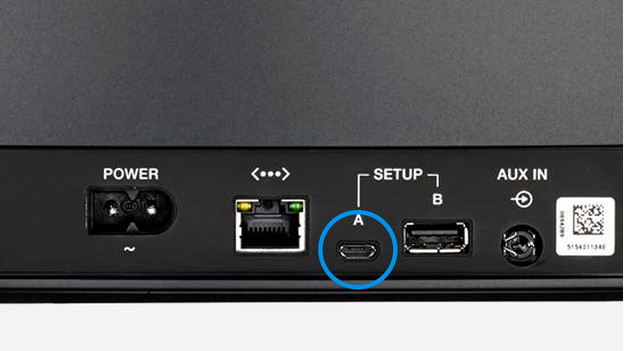
Connect the included micro USB cable tot he computer. The micro USB input can be found on the back of your Bose SoundTouch speaker.
Step 8: give your speaker a name
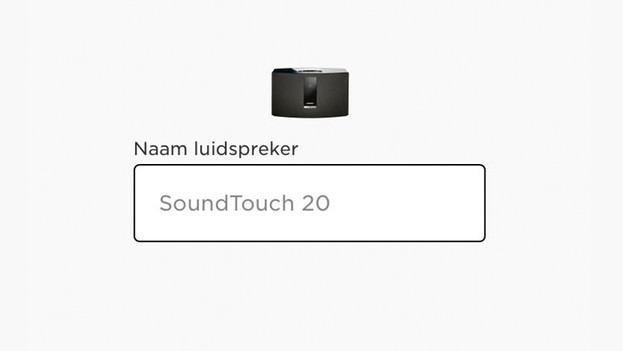
The program will ask you if you want to rename the speaker. You don't have to, but we do recommend it. If you're planning to use multiple Bose SoundTouch speakers, it's a good idea to give each speaker a name that refers to the location where you want to use it. That lets you control each speaker using the Bose SoundTouch app.
Step 9: create an account
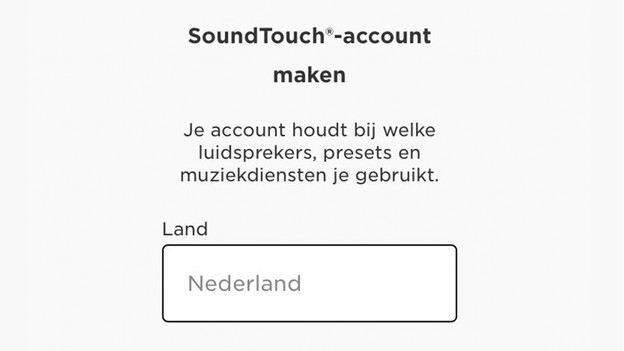
Fill out the empty fields to create a Bose account.. If you already have a Bose account, click 'I already have an account'. Then, log in with the existing login information for your Bose account.
Tip: write down the login information you came up with. You'll need it if you want to install the program on a different device.
Step 10: add a music service
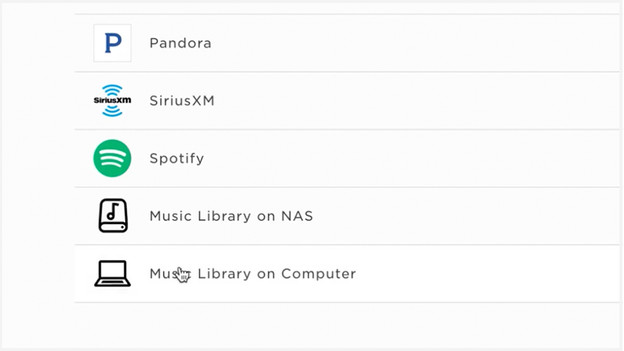
Installation has been completed. Your screen will now welcome you. Now you can add music services such as Spotify or Deezer in the left of the screen. The service will be added to the Bose SoundTouch program. You can also use this menu to play a radio station. Do you want to know how to navigate radio stations and playlists more quickly? Read the article below.
You're done!
Setup has been completed and you can now enjoy your speaker.


