Written by Giorgos
Edited on
1 November 2022
·
09:15
How do you set up daisy chaining for your monitors?
With daisy chaining, you can connect a monitor to another monitor directly. This allows you to create more screen space without using the connectors of your laptop, desktop, or docking station. Before you can get started with daisy chaining, you have to be prepared. In this article, we'll explain what you need and how you can set up daisy chaining for monitors.

What's daisy chaining?
With daisy chaining, you connect monitors directly. Instead of plugging the cable into your laptop or desktop, you plug it directly into the other monitor. This increases your screen space and you won't have to use the connectors of your laptop, desktop, or docking station. Daisy chaining is possible with more than 1 monitor. You can connect a third monitor to the second one, a fourth monitor to the third one, and so on.

Set up daisy chaining in 4 steps
You need a couple of things for daisy chaining:
- A laptop or desktop with at least 1 DisplayPort 2.1 connector.
- A monitor with at least 1 DisplayPort 1.2 In and 1 DisplayPort 1.2 OUT connector. DisplayPort 1.3, 1.4, USB-C, and Thunderbolt 3 connectors are also possible.
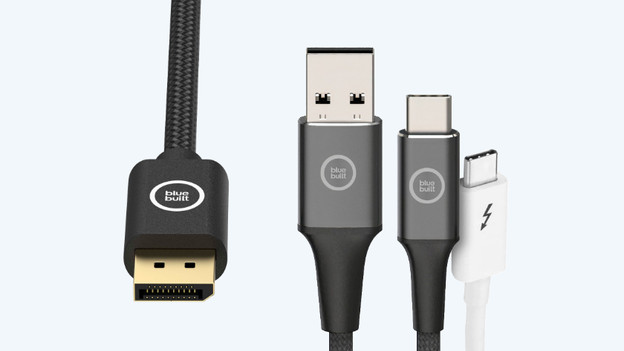
- A DisplayPort cable with at least version 1.2. A USB-C or Thunderbolt 3 cable is also possible.
- Enough space on your desk.
- Update your drivers.
- Connect your first monitor to the computer.
- Connect your first monitor to the second monitor.
- Rearrange your screens.

Step 1: update your drivers
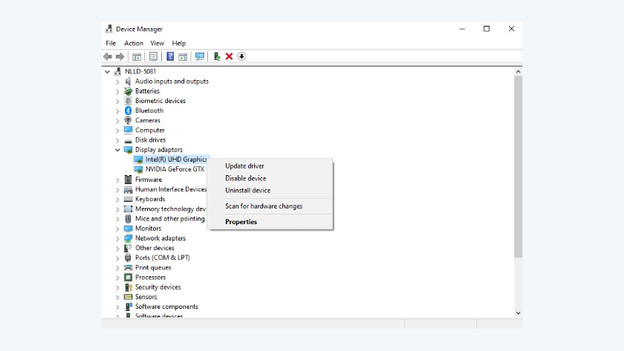
Before you get started with daisy chaining, your monitor has to support MST. MST stands for multi-stream transport, which allows you to connect multiple screens to each other without the use of a hub. There aren't any specific MST drivers available, but they're included in the updates. Read the article below to find out how to update these drivers.

Step 2: connect your first monitor to the computer
Now that everything is up to date, you can connect the first monitor to the computer. You can do so via the DisplayPort IN connector on your monitor. The same applies if you daisy chain via USB-C or Thunderbolt 3. The IN connector receives the image signal, and the OUT connector transmits it. Via display settings, you can identify, select, and rearrange your screens to your liking. Read the article below to find out how to do that.
Note: the USB-C port needs to have DisplayPort Alternative Mode. Without this, daisy chaining via USB-C isn't possible.

Step 3: connect your second monitor to the first monitor
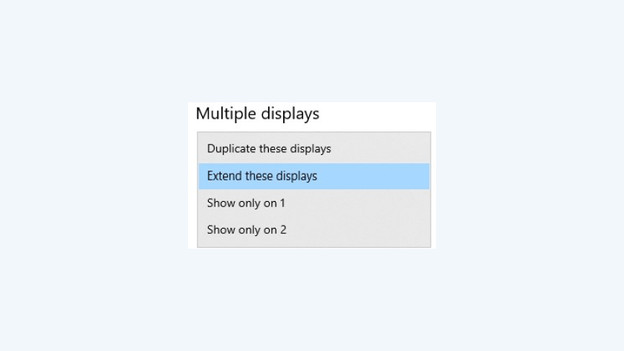
It's time to daisy chain. Plug the DisplayPort cable into the DisplayPort OUT connector of the first monitor, and plug the other end into the DisplayPort IN connector of the second monitor. This transmits the image signal from the first monitor to the second one. If you do this correctly, you'll see the screen in your 'Display settings' window. Drag the screens in the menu to rearrange them to your liking. Repeat these steps if you want to connect a third screen.

Step 4: rearrange your screens
You've connected your monitors, but that doesn't mean that you're done. The order of the screens often doesn't make sense. The third screen is placed in the middle, for example. In the 'Display settings' screen, you can easily drag the screens to rearrange them to your liking. Click 'Detect' to check the numbers of the screens.

What are the differences per cable?
Daisy chaining is possible via 3 cable types, DisplayPort, USB-C, and Thunderbolt 3. DisplayPort is the easiest to set up, but USB-C and Thunderbolt 3 require an extra step. If you have a monitor without a USB-C or Thunderbolt 3 connector, you need an adapter. In addition, USB-C only works in Windows 10. Daisy chaining via MacOS without a DisplayPort connector only works with a Thunderbolt 3 cable
