Written by Bram
Edited on
1 October 2025
·
11:04
Set up Philips Hue in 4 steps
Do you think installing smart lighting is difficult? Philips Hue isn't. You can install your Philips Hue lights in 4 easy ways. The only thing you need is a light, a smartphone or tablet, and a stable WiFi network.
Set up Philips Hue in 4 steps
- Power your light source
- Connect your Philips Hue Bridge
- Download the app
- Configure the light


1. Power up the Philips Hue light sources
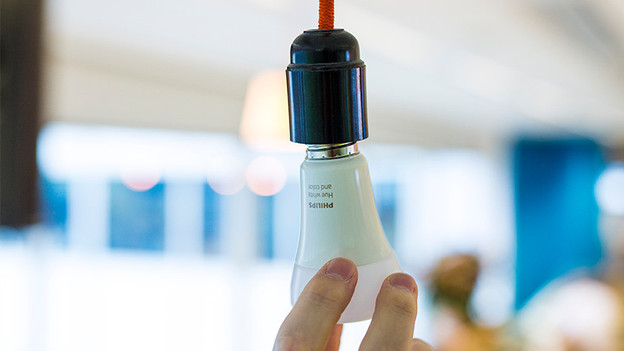
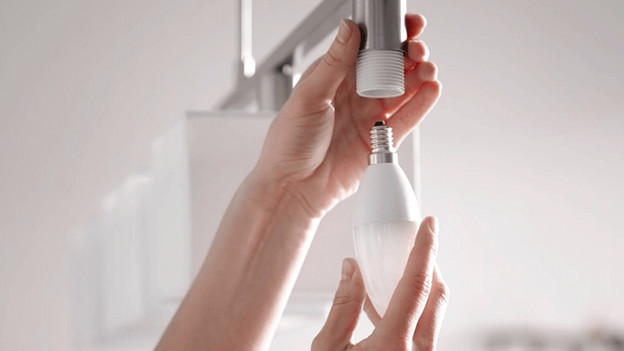
Once you know in which fixtures you want to place the light sources, it's time to power them up. In other words: screw the light sources into a lamp. Screw the Philips Hue light source into an existing lamp, then make sure to turn on the switch. If you've bought a Philips Hue lamp that's already enclosed within a fixture, you can simply plug it into the socket.
2. Connect your Philips Hue Bridge
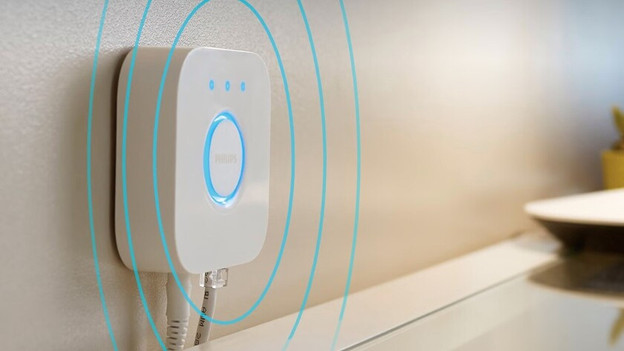
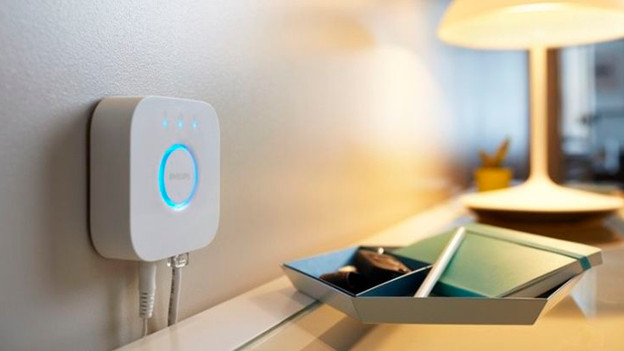
The Philips Hue Bridge is the heart of your smart lighting. Power up the bridge using the adapter, and it will start up automatically. Connect the bridge to your router using the included network cable. Wait until the 3 LEDs on the bridge are on and you're ready for the next step. Without a Bridge, you can control the lights via Bluetooth and you don't have to connect the bridge.


3. Download the app
You'll control all your lamps using the Philips Hue app. You can download the app on your smartphone or tablet. It's available for both iOS and Android. Using the app, you connect to the Philips Hue bridge which, in turn, connects to the light sources in your house. It all happens automatically. Simple, isn't it? Now you can get started with your smart lights.

4. Enjoy the light
Control your lamps using the Philips Hue app. Play around with the light and create the atmosphere that fits you. Explore the app's functions or download other Hue apps and discover new possibilities there. Choose from the various lighting scenes or make your own preset scenes. The possibilities are endless.
Article by Bram
Smart Lights Expert.
