


How do you install a car radio?
Installing the car radio in 7 steps
Before you can connect the radio, you need the following parts: a large flat screwdriver, a small flat screwdriver and possibly the manual and unlocking keys of your old car radio. You can install the car radio in 7 steps.
Step 1: Remove the front
Step 2: Disconnect the car radio
Step 3: Detach the frame
Step 4: Install the frame
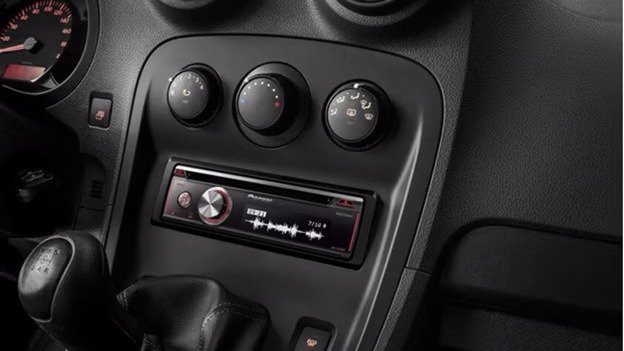
Step 5: Connect the radio
Step 6: Check the installation
Step 7: Replace the radio
Step 1: remove the front cover of your car radio
Remove your old car radio's front panel. Remove the trim by moving it around a bit and then pulling it towards you.
Step 2: disconnect your car radio
Press the removal tools for your old car radio into the slots that are on the side of the radio for that purpose. If you don't have these tools, check if you can use the ones that came with your new radio. In the case of some car radios, they're pins, but most have flat tools that go into the sides. Once the radio comes loose, you can pull it out and unplug the connectors on the back. You now have 3 connectors for the antenna, power supply, and speakers.
Step 3: Detach the metal frame
Use the small slotted screwdriver to bend back the tabs on the sides. Next, pull out the frame. There's now a big opening where your radio used to be.
Step 4: Installing the new metal frame
When you unpack your new car radio, it has a metal frame around it. You'll need to install this frame first. Slide it into the hole where the old radio was and pick up the large slotted screwdriver. Use it to bend the tabs of the frame. You do this at the spot where the opening behind the frame is, where the tabs on the old frames were also bent.
Step 5: connect your radio
You'll need to connect 2 different cables to the radio: the antenna cable and the ISO connector. Connect the antenna to the cars antenna connection. Connect the included radio cables to the ISO connector.
Step 6: check the installation
Before putting the radio in the slot, you have to check if the cables are connected correctly. You can do that by selecting a radio station. Next, turn off the ignition, wait 5 seconds, and turn it on again. Is the radio playing the same station? That means you've correctly connected the cables. If not, you have to swap the red and yellow wires.
Extra step: install the microphone or DAB+ antenna
If you have a DAB+ radio or a radio with a separate microphone, you have to install it before continuing. If you don't have one, you can skip this step and continue to step 7. The best place to mount a Bluetooth microphone is above your window. Sometimes, it's not possible to put the microphone there, for instance if you drive a convertible. In that case, you can put the microphone behind the steering wheel. Hide the cable behind or along the trim and connect it to the microphone connection on the back of your radio.
Step 7: put back the radio
Place the radio in the slot in your car. Try to push the cables back as much as you can. If you can easily press in the radio without forcing anything, you'll hear a click. That means the radio is fixed in the adapter frame.

