8 tips to take better photos with your smartphone
Get started with your smartphone camera

You should look at more than just the composition for the most beautiful photos, such as how to use the camera software. With the tips below, you can get the most out of your smartphone camera.
- Tip 1. Use the grids for the best composition
- Tip 2. Try different lenses
- Tip 3. Experiment with different modes
- Tip 4. Determine your own focus
- Tip 5. Only zoom in with the optical zoom
- Tip 6. Keep the lighting in mind
- Tip 7. Don't use a flash
- Tip 8. Edit your photos afterwards
Tip 1. Use grids for the best composition
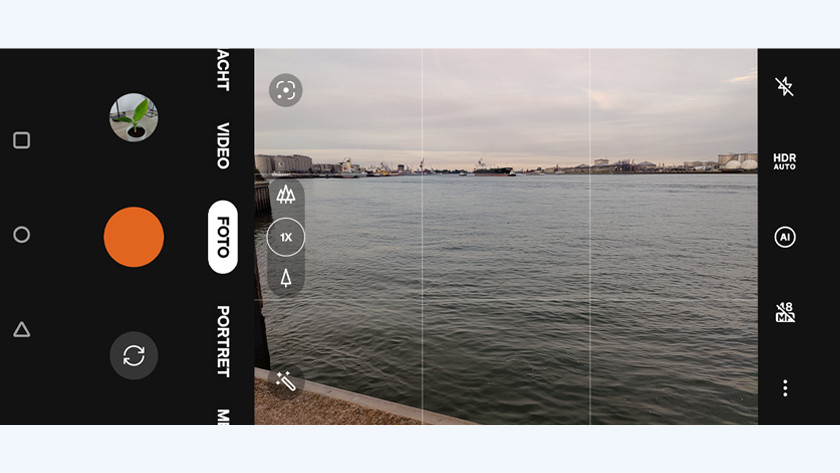
With a grid, you can ensure the best composition for your photos. With these help lines, you can make sure the horizon is straight in your photo. That way, you'll prevent crooked photos. You can also use the grids for the rule of thirds. The grid has 3 horizontal and 3 vertical lines. Your photo is the most dynamic if you place the most important objects on 1 of the 4 intersections. You can turn on the grids (also called help lines) via the settings of your camera app. Of course, you won't see the grids on your photos.
Tip 2. Try different lenses
-
With the telephoto lens, you can capture animals largely in a photo.
-
With the standard lens, the Euromast in Rotterdam doesn't really stand out between all the buildings
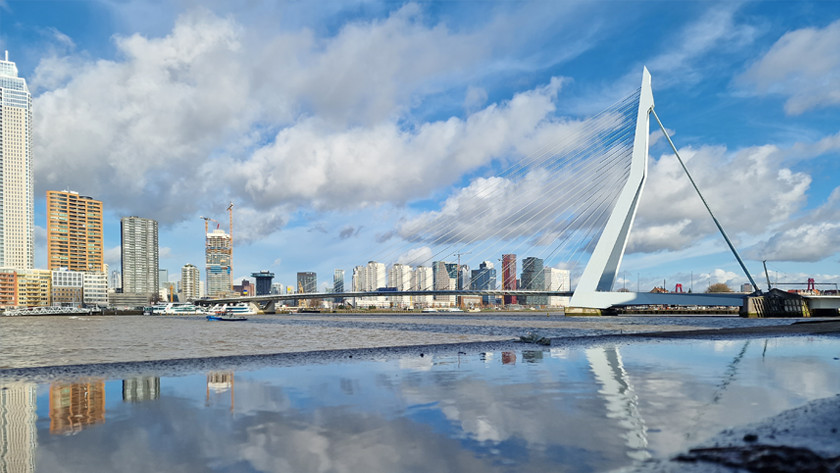
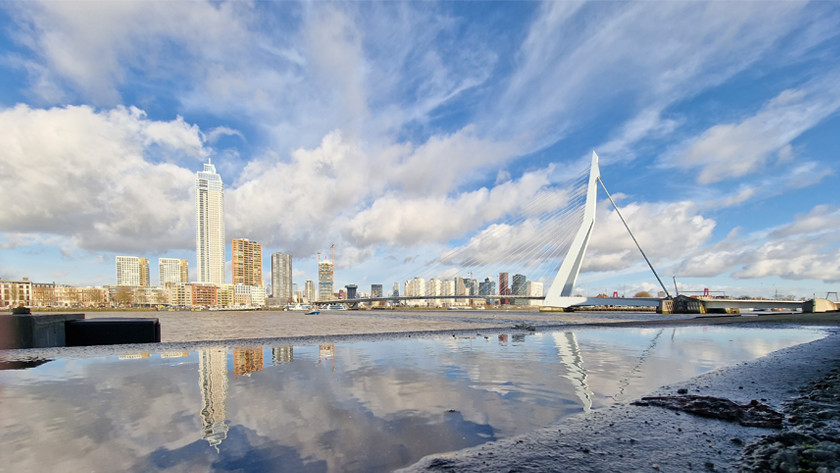
Most smartphones have multiple lenses. Every device has a standard lens, but you'll also find a wide-angle lens on most smartphones. You can use this lens to capture high buildings or large groups of people in one photo. Clouds also come out nicely with this lens. More expensive smartphones have a telephoto lens with optical zoom in addition. This allows you to zoom in from afar without losing quality. Use this lens to zoom in on an animal or to get an object in your frame better. You can keep the the rest of the environment out of your photos that way. You can select the lenses by tapping on the following icon or numbers in the camera app:
- Standard lens: 1x or 2 trees
- Wide-angle lens: 0.6 or 3 trees
- Telephoto lens: 2/3/5/10x or 1 tree
Tip 3. Experiment with different modes

You might not notice it, but your smartphone camera has different modes to take better photos in certain situations. Your device will use different settings per mode. In the portrait mode, the software will blur the background, sometimes in combination with the depth sensor. This will create a depth of field effect. With the night mode, you'll see more details and colors when it's dark out. You can select a mode in the bar underneath the photo frame. Often, you'll find more modes under More. Go through these modes and determine which mode is the most suitable for which photo.
Tip 4. Determine your own focus

The most important requirement for your photo is that it's sharp. Even though it seems like the entire image is sharp while you take the photo, this isn't necessarily the case. Your smartphone focuses automatically on a specific area that has to be the sharpest. The camera software often looks for an area in the center. But, as you've read earlier, you don't always want your object in the middle of the image. That's why you should tap your screen to focus on another part of the image. That way, the most important object will always be captured sharply.
Tip 5. Only use optical zoom to zoom in
Every smartphone can zoom in, but that's not always a good idea. Many smartphones zoom digitally. Your device will enhance a part of your photo. Due to this, the image loses sharpness. More expensive smartphone often have a telephoto lens with optical zoom. This allows you to zoom in without losing quality. In that case, it's no problem to zoom in. Make sure to check how many times the lens can zoom in optically. If you zoom in further or not far enough, your photo is still less sharp. You can read this information on our website.
Tip 6. Keep the lighting in mind
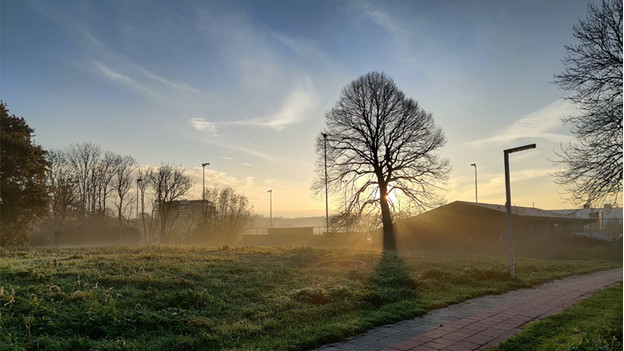
The ambient light greatly affects your photo. The more light, the more details and colors you'll see. Be careful with bright sunlight. Your photos are likely to be overexposed or underexposed. You'll have the most beautiful light during the golden hour. This is the hour after sunrise and before sunset. The light has a warmer and soft tone during this time, which ensures beautiful photos. You can adjust the light sensitivity yourself too. Softly press and hold the screen and drag the sun that appears up or down.
Tip 7. Don't use a flash

Do you want to take a night photo or a photo during a party? You might be tempted to use the flash. But this won't give you the best result. The hard light of a flash will go to a small surface close to the camera. The result? Unnatural lighting, an overexposed front, a dark background, and red eyes. That's why you should always use the night mode of your camera. You do have to hold the camera still for longer because of the longer shutter speed. The camera will collect more light and details with this, so you'll end up with a brighter photo.
Tip 8. Post-edit your photos
With post-editing, you can get the most out of your photos. You can adjust the settings or use a filter afterwards. This allows you to edit the lighting, the colors, and the entire atmosphere of the photo to your liking. Some smartphones have their own editing software, but there are enough (free) apps in the Google Play Store as well. For example, try one of the following apps:
- Adobe Lightroom CC
- Snapseed
- VSCO
- Afterlight


