

5 tips for drilling tile
Get started with drilling in tiles
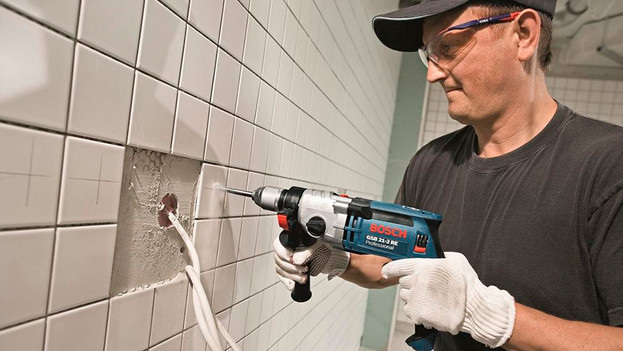
If you want to drill in tile without any problems, it's important to pay attention to a few things. Follow these tips:
Tip 1: choose the right drill bit.
Tip 2: prevent slipping.
Tip 3: start slowly.
Tip 4: cool between drilling.
Tip 5: avoid the joints.
Tip 1: choose the right drill bit
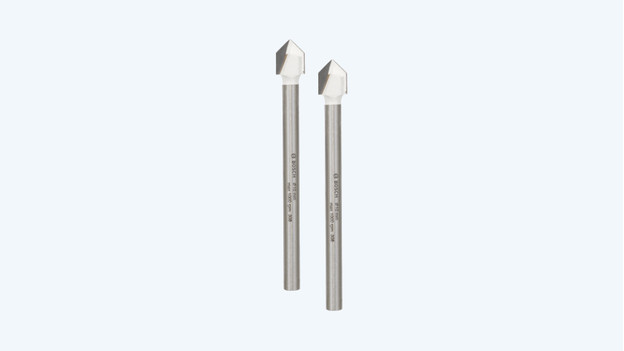
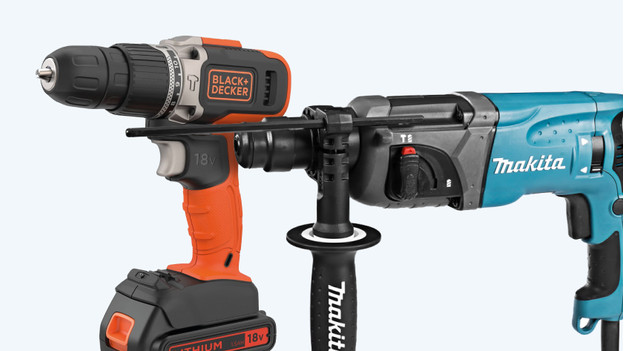
There are drill bits for different materials, one of which are tiles. You can recognize a tile drill bit by it's pointy tip. You drill in 1 exact spot with this tip, so the drill won't slip away as easily. This helps prevent ugly scratches or broken tiles. Once you're through the tile, you can continue to drill with a drill bit for the material underneath. There's stone or concrete behind the tile, for example. You recognize a stone or concrete drill by its tip with 'wings' on it.
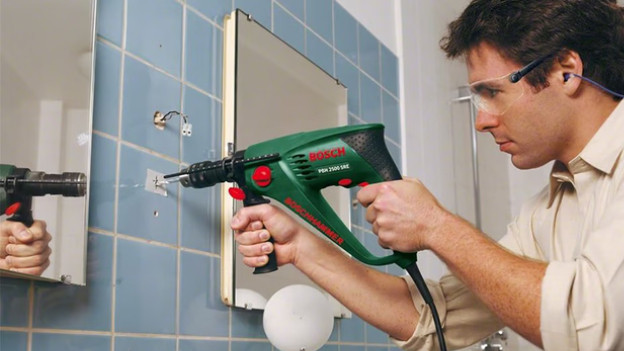
Tip 2: prevent slipping
Tiles are very slippery, so there's a good chance that you can slip. This can cause an ugly scratch or a broken tile. With a simple trick, you can prevent your drill from slipping. Using painter's tape, make a cross on the spot you want to drill and place the drill bit in the middle. Your drill bit has more grip on the tape than on a flat tile. That way, you won't slip off. You can simply remove the tape after drilling.
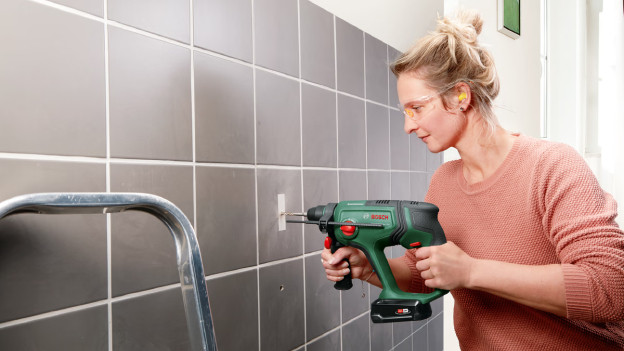
Tip 3: start slowly
The top of the tile is the most vulnerable. That's why it's important to start drilling slowly as to not break the tile. As soon as you're through the top (glaze) layer of the tile, you can increase the speed bit by bit. You can then effortlessly drill through the rest of the tile.
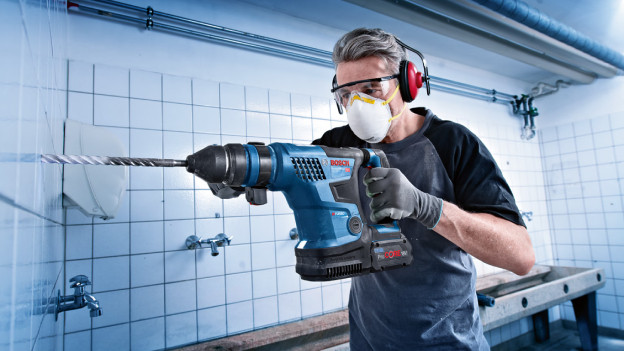
Tip 4: cool between drilling
The tile drill bit becomes very hot while you're drilling due to friction. This mostly happens with very hard materials like granite or marble. Keep a plant sprayer with cold water or drill oil at hand to prevent damage. You don't want your drill bit to burn, after all. Spray some water or drill oil on the drill bit and tiles between drillings. Or pause after every 10 to 15 seconds until the drill and material are cool again.
Tip 5: avoid the joints
In addition to drilling in tiles, you can make holes in the joints. It's easier to drill in the joints because you have more grip. Still, we don't recommend this. Due to the material of the joints, the screw and plug will loosen over time. Especially in a humid room like a bathroom. Joints can carry less weight this way, so your mirror or shelf will fall of the wall faster. For a sturdy result, it's best to drill in the tiles.