

How do you set the ISO value on your mirrorless camera?
Step 1: choose the right setting
Depending on what type of mirrorless camera you have, you can choose from different camera settings. In the automatic setting, you can't manually set the ISO value. This setting is usually indicated by the green camera. In the semi-automatic P setting, you can set the ISO yourself. The camera will then adjust the other settings accordingly. If your mirrorless camera doesn't have a P setting, choose a (semi) manual setting that's similar.
Step 2: discover which ISO value is suitable
In general, a higher ISO value means more noise in the image. Advanced mirrorless cameras often have a system that reduces noise. But no matter how good a camera is, noise is generally unavoidable. Luckily, you can often use an ISO of 100 during the day. Indoors, you can choose 200 or 400. If you're taking photos in low-light situations, choose a maximum ISO of 800 to avoid noise as much as possible.
Step 3: set the right ISO
Some mirrorless cameras have a special ISO button on the device. With other models, you can set the ISO value via the general menu. On the Canon EOS M100, you'll find this setting via the menu, for example. The Sony Alpha has an ISO button on the right side of the screen. Once you're in the ISO menu, you press the navigation buttons to select the right value.
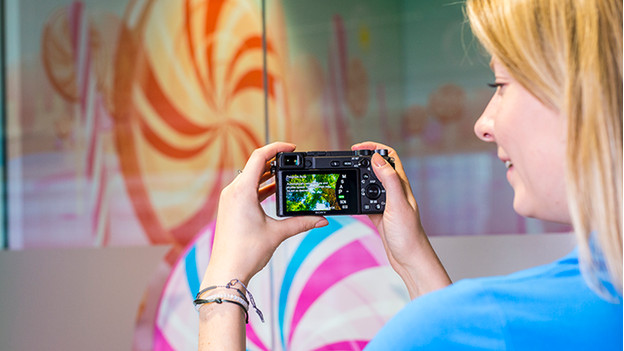
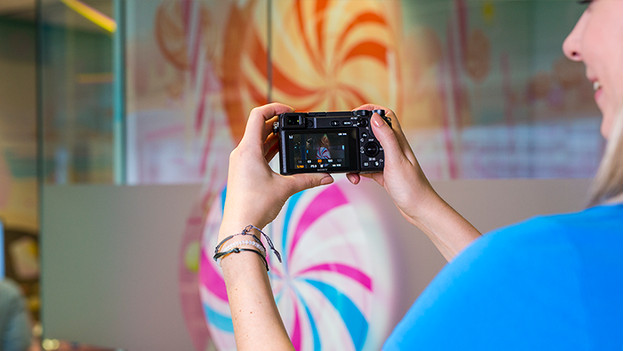
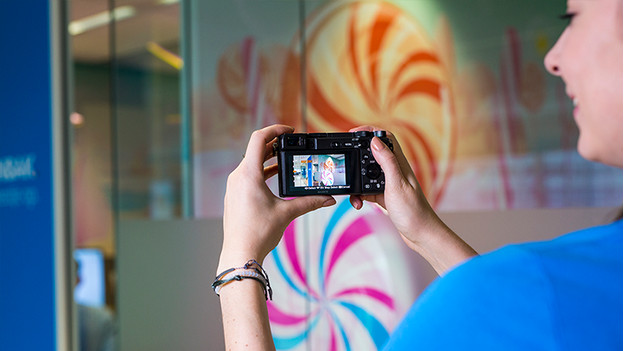
Step 4: take the photo with the right ISO value
Not all mirrorless cameras have a viewfinder. When you look through a viewfinder, you can see if your subject is clearly visible. If your camera doesn't have a viewfinder, you can check the subject on the screen. Once everything is the way you want it, you take the photo. Do this by pressing the shutter release button halfway down. This makes the camera focus. Then you push the button more firmly to actually take the photo.