Written by Rosalie
Edited on
21 March 2023
·
08:33
How do you set up a Brother inkjet printer?
You've bought a new Brother inkjet printer and want to use it right away. You have to set up the printer before you use it. Put the user manual aside, because we'll explain how to set up your printer in 4 steps.
Summary steps
You'll set up your printer, so your first print will roll out quickly. This'll certainly succeed with the following steps.
- Step 1: set up cartridges
- Step 2: download software
- Step 3: install software
- Step 4: choose a connection method

Before you get started
The setup takes approximately 30 minutes. What do you need?
- A Brother printer
- A stack of A4 paper
- A computer or laptop
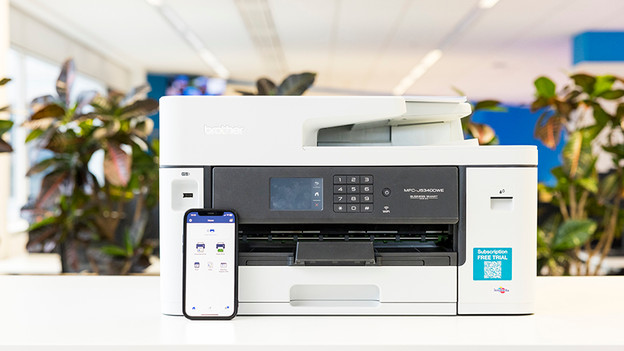
Note: we used the Brother MFC-J5730DW for this article. The setup process of other Brother inkjet printers is almost identical. If you encounter differences during the setup, check the manual of your printer.

Prepare the printer
Follow these instructions to prepare your printer for the set up.
- Take your printer out of the packaging and remove all the tape and protective material. Also make sure to remove possible protective materials on the inside of the printer. They often put it there, so nothing will damage inside the printer during transport. Check the manual to be sure you don't forget anything.
- Plug the connector into the socket to provide power to the printer and turn it on.
- Choose the right language on the screen and set the date and time.
- Insert paper into the paper tray. Take out the tray completely, remove the lid, and insert the paper. Put the lid back on and place the paper tray back into the printer.

Step 1: install cartridges
Open the cover on the front of your printer and remove the orange protective material. Take the cartridges out of the packaging and place them carefully. Make sure you click them into place properly, otherwise the printer will give an error. The printer will start to set up and make a test print. Press 'OK' if no dotted lines are missing.
Note: most printers include setup cartridges. These cartridges often have less ink and are required for the setup.

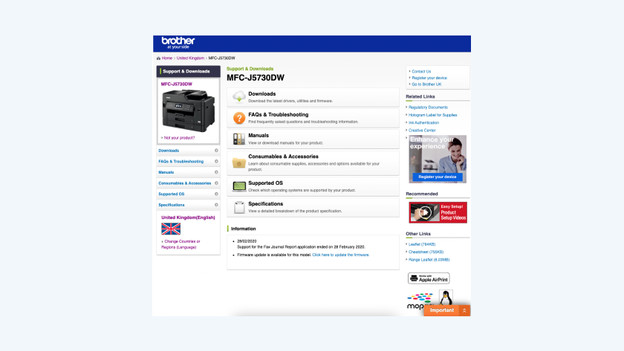
Step 2: download software
You've connected your printer. In this step, we'll make sure your computer operates the printer. We'll install the Brother software for this. Open your browser and go to the link at the bottom of this paragraph.
- Click Downloads.
- Select the right product category for your printer.
- Select the product series of your printer.
- Select the operating system of your laptop or PC.
- Download the Complete pack of drivers & software and accept the agreement.

Step 3: install software
- Open the installation program.
- Select the language in which you want to run the installation software.
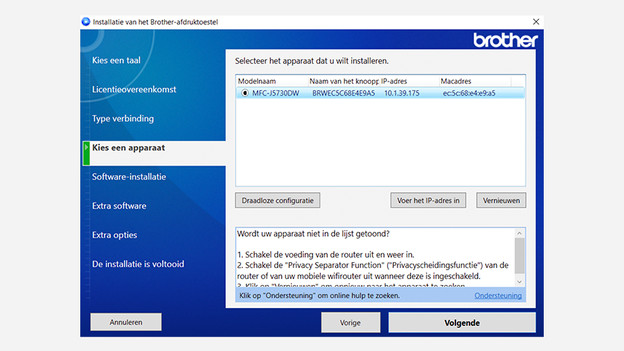
- Follow the steps of the installation wizard.
Step 4: choose a connection method

4.1: connect to the software
The easiest way is to connect your printer with WiFi using the Brother software that you've installed on your PC. Select WiFi Connection or Wireless connection in the Brother software that you just installed. Go through the following instructions. The software will set up the connection automatically, after which your printer will be connected to your WiFi network.

Step 4.2: connect via your printer
The menu differs per Brother, but you can select the following terms in the menu of most printers:
- Go to the WiFi icon on your printer.
- Tap Change settings.
- Select the installation wizard.
- Select the name of your network. This is also called SSID.
- Enter the password of your WiFi network.
- Tap OK.

Start printing
Your printer will connect to WiFi and the setup is done. You can start printing.
