Written by Dewy
Edited on
13 December 2023
·
08:38
How do you take the most beautiful photos with your iPhone?
You don't necessarily need an SLR camera to take beautiful photos. You can also take nice photos of your friends, children, vacation, or night out with your iPhone. Photos taken in portrait mode sometimes look just as professional as photos taken with an SLR camera. With these tips, you can take even more beautiful photos from now on with your own iPhone.
1. Use a grid
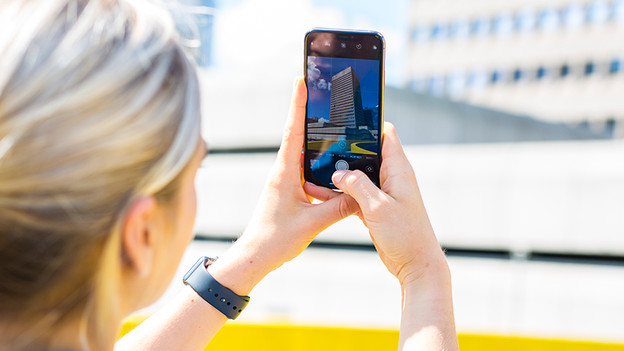
Are your photos often slanted? There's a very simple solution to this problem. You can use a grid. A grid is ideal when you're taking a photo of the view. It's easy to take a photo with a slanted horizon. When you use a grid, horizontal and vertical lines appear on your screen when you're taking a photo. That way, you can take a straight photo more easily. You can turn on the grid feature via Settings → Camera → Grid.
2. Avoid zooming and flashes
When you zoom, your photos often become blurry or grainy. That's not what you want. It's better to walk closer to an object, if you can. Did you spot a wild tiger on safari? You may want to use the zoom function anyway. Do you take a photo without zoom? You can crop and enhance it later on, as long as it's high-quality. The flash function isn't always a good idea either. The flash often results in over-exposed photos. It's better to find natural light or edit your photos afterwards and make them lighter.
3. Live photos
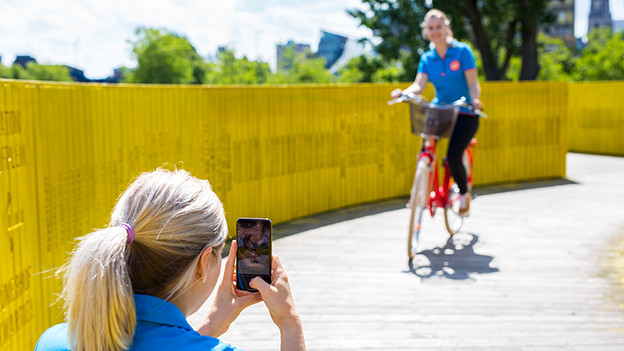
Live Photos is turned on by default, but this isn't always a good idea. A live photo takes up a lot of storage space, so your iPhone fills up faster. Sometimes, a live photo does come in handy. For example, when you're taking an action photo. A live photo captures a couple of seconds of moving footage before and after the photo. When you press and hold the photo, you can relive the moment by watching the images play in succession. By swiping from left to right, you can select the image you like best. You can set this as the new photo.
4. Portrait mode
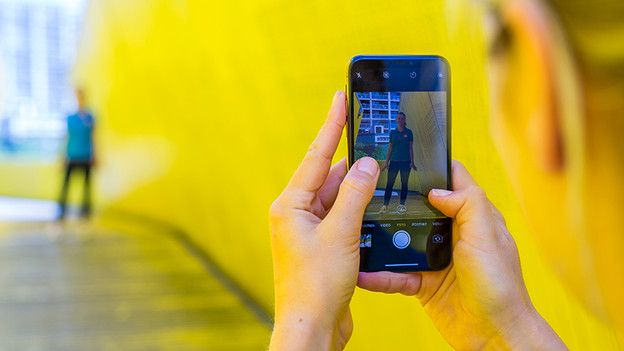
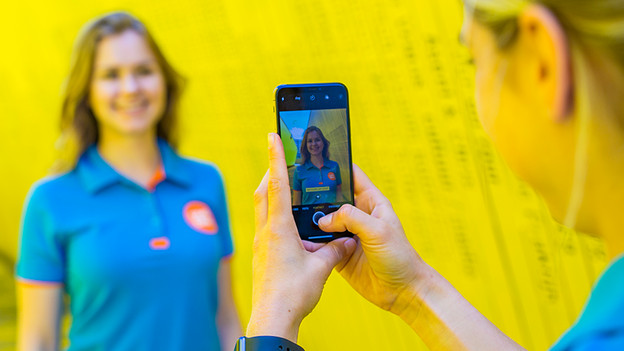
Some photos look so professional that you're sure they must be made with an SLR camera. But such a photo can easily be taken with an iPhone as well, usually with portrait mode. Portrait mode focuses on the subject of your photo and makes the background blurry. That way, you add depth to your photo. With devices from the iPhone 11 series, you can only adjust the depth-of-field effect afterwards. That way, you can make the transition more subtle. You can also choose different types of portrait lighting to make your photos look even more professional.

4. Use HDR
HDR stands for High Dynamic Range. This setting provides the ideal lighting. What does HDR do? It combines 3 different types of lighting, namely light, dark, and regular. These types of lighting are then combined into one image. The result is a photo with better colors and more detail. Open the Camera app on your iPhone and select HDR in the top corner. If you take a photo now, the photo will be saved as a regular photo and with HDR. That way, you can compare the photos. You can also turn this function off to save storage space.