


How do you set up your HP+ printer?
HP+ printer setup in 7 steps
Follow the steps below to set up your HP+ printer. For this article, we use the HP Envy 6022e. You can use the steps below for other HP+ printers as well, unless told otherwise.
- Step 1. Prepare the printer
- Step 2. Insert paper and cartridges
- Step 3. Download the app
- Step 4. Start the setup
- Step 5. Activate HP+
- Step 6. Activate Instant Ink
- Step 7. Print your documents
Step 1: prepare the printer
Before you set up the printer, you have to unbox it first, connect it to the power grid, and remove the protection materials. The HP+ printer needs to be connected to the internet, so make sure to put it somewhere with a stable WiFi connection. Also check the inside to see if all the protection tape is gone. When you plug it into the socket, it takes some time till the printer is ready for the setup. With the Envy 6022e, the LED strip above the output tray changes from white to purple.
Step 2: insert paper and setup cartridges
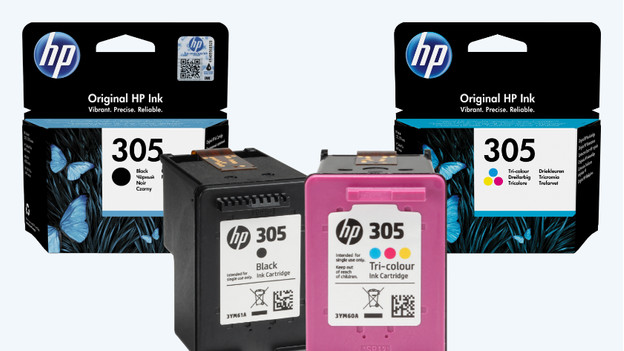
Follow the instructions on the screen. If your printer doesn't have a screen, like the HP Envy 6022e, follow the steps below:
- Remove the protection material from the cartridge.
- Press the button on the side of the cover and push the cover all the way up. The cartridge holders now appear.
- Pull the black tab of the cartridge holder up.
- Do the same for the color cartridge with the purple tab.
- Pull the input tray outwards and insert the paper. You align the paper by sliding the dark gray sliders against the paper.
Step 3: download the HP Smart app
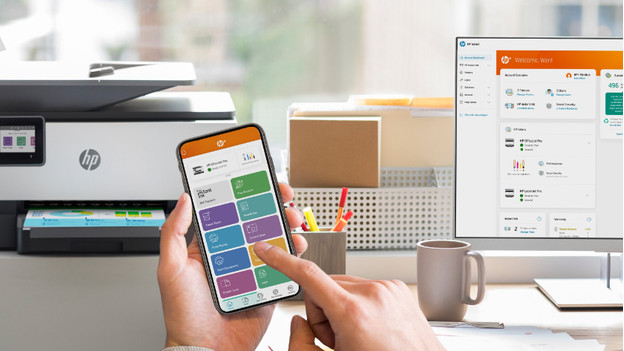
With ink and paper in the printer, you're ready to connect the printer to your desktop, laptop, or mobile device. You can do this with the HP Smart app. This is available for Android, iOS, and iPadOS in the Microsoft Store and the Mac App Store. Even when you have a printer that covers the USB port with a label, you can install it via HP Smart software and a network connector. After installing, it's possible to print via the USB cable.
Step 4: start the setup
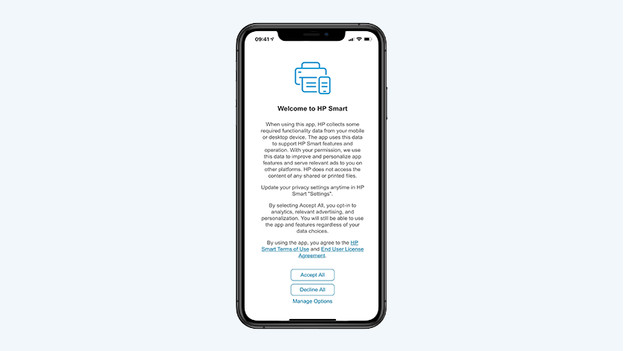
Once you open the app and accept the terms and conditions, the app will ask if you want to install a new printer. Click 'install a new printer'. If you start on the home screen, press 'add printer' or the + sign on the top right. Your printer has now been found and you can connect to your WiFi network. Isn't this working? You can enter the WiFi password manually. If this also doesn't work, the printer will create its own WiFi network for the installation.
Step 5: activate HP+

To use HP+, you need to activate it. With HP+, HP offers a combination of services with which you can print more productively, safely, and sustainably. You get 1 year extra warranty, your documents are secure, and you contribute to the environment. You can decide if you want to use HP+ during the setup. If you choose HP+, you accept the conditions:
- You create an HP account.
- You connect the printer to the internet.
- You only use original HP ink.
An HP+ activation is irreversible. After you activate HP+, you have 7 days to start the HP Instant Ink trial subscription. If you decline HP+, you miss out on this promotion. If you choose HP+, you can create an account now.
Step 6: activate HP Instant Ink
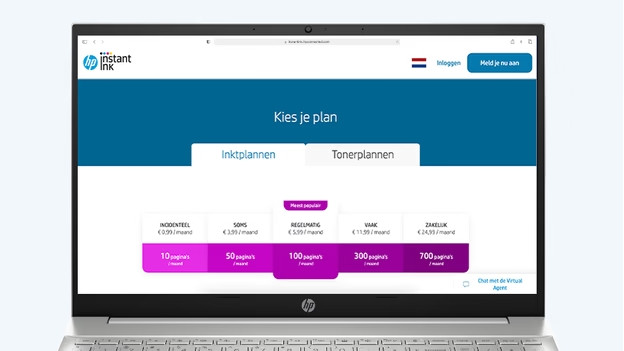
You receive 6 months of HP Instant Ink with HP+. This is an ink subscription during which you pay for the number of pages you printed, not for the amount of ink you use. That's more affordable than buying separate cartridges. You can choose a print subscription that suits best to your needs and print for free for a number of months. For how many months you can print for free depends on your printer. After these months, the subscription extends automatically and you start to pay for it. For each chosen print subscription, you can print 700 pages per month for free during the trial period. If you print more, it'll cost you money. During the setup, you have to enter your address and payment information. You can pay via credit card or an automatic bank transfer, which is similar to direct debit.
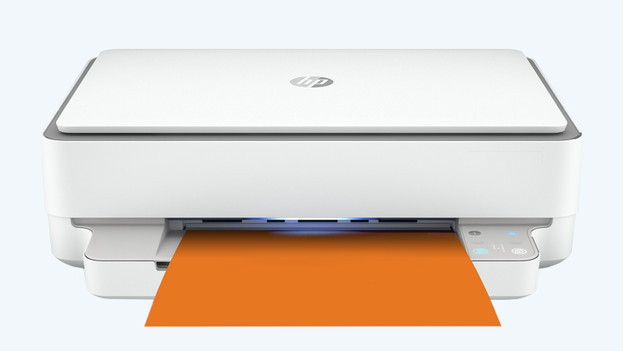
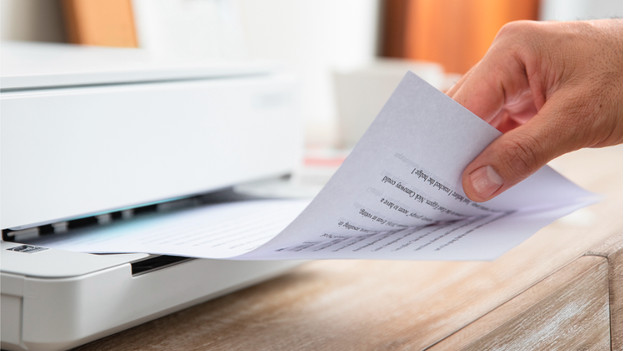
Step 7: print your first documents

The printer is unboxed and connected, ink and paper have been inserted. Your computer and mobile devices are connected to the printer and accessible via the app. HP+ and 6 months of HP Instant Ink have been activated. You can now print everything, your diaries, your administration. Or that one special picture of your mom.
