Written by Jelle
Edited on
23 December 2022
·
12:56
How do you download the Satechi cable converter?
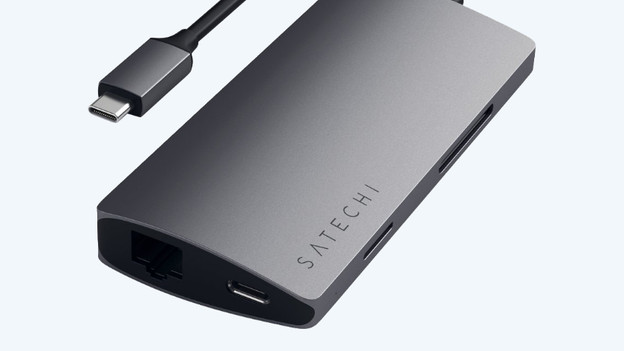
With the Satechi USB-C to USB-A, Ethernet, and HDMI cable converter, you can expand the the connection options of your laptop with USB-C port. The download won't take long and you can easily do it yourself. We'll tell you how to download the converter within a few minutes here.

Get started with downloading the converter
To use your peripherals as soon as possible, go through the following steps:
- Step 1: Connect the converter to your laptop.
- Step 2: Connect peripherals to the converter.
- Step 3: Set up external monitors.

Step 1: connect the converter to your laptop
Connect he USB-C cable to the converter via one of the USB-C ports of your laptop. Want to charge your laptop via the converter as well? Make sure you're using USB-C port with Power Delivery function. This is the port you can charge your laptop with. You can now connect the charger of your laptop to the USB-C port of the converter.

Step 2: connect peripherals to the converter
Connect your peripherals via the designated ports:
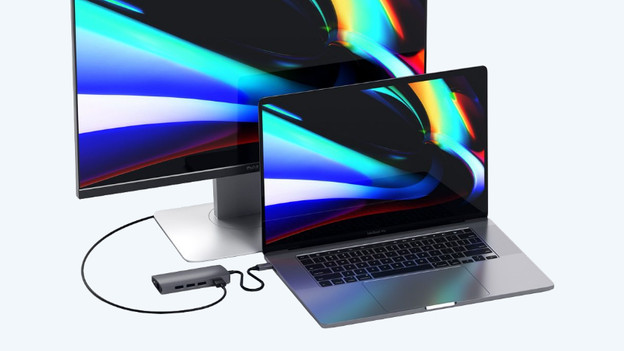
- You can connect a second screen to the HDMI connector of the converter with an HDMI cable.
- The 3 USB-A ports can be used to charge your phone or to connect USB-A devices, such as a USB flash drive.
- Connect an Ethernet cables to the Ethernet port for a stable wired internet connection.
- You can place SD and microSD cards in the memory card reader with the right size.

Step 3: set up external monitors
If you use a second screen, you can adjust the settings to your liking. Go to the display settings of your laptop to adjust them.
- Are you using Windows? Right-click on your desktop and open the Display settings. Here, you can rearrange the displays. Scroll down and choose whether you want to expand or duplicate the screen under Multiple screens.
- Are you using macOS? Click on the Apple logo at the top-left and open System Preferences. Choose the tab Displays and determine which screen is the main one by placing the white bar above it. Want to duplicate the screen? Right click on the screen and select Mirror Displays.
Article by Jelle
Docking Station Expert.
