
Written by Daniël
Edited on
10 December 2024
·
16:11
How do you install a Google Nest Thermostat?
Installing a Nest thermostat can be difficult. For example, the installation of the Heat Link depends on your boiler. We're happy to help you with the installation, so you can start using your new thermostat. On this page, we'll explain how to install the Google Nest Thermostat. But before you do this, you have to install the included Heat Link. That's how you install your Nest thermostat.
Get started with the Nest thermostat
Make sure you have a good WiFi signal and know the password for your WiFi connection.
- Check if you can use the thermostat
- Turn off the power for your heating
- Disconnect your old thermostat
- Mount the thermostat
- Connect the cables to your thermostat
- Connect your thermostat to the internet
Step 1: check if you can use the thermostat
Install and open the Nest app and check if your thermostat is suitable for your boiler. You can check this via the app. Make sure you set up the Heat Link first.
You also need the following:
- Scissors or a knife
- A screwdriver
- An (old) power plug for the Heat Link
- The Heat Link you've already set up

Step 2: turn off the power to your heating
Turn off the power to your heating and cooling system. That's safer, because you'll be working with electricity. You can check if your heating is turned off by increasing the heat. If it switches on, the heating is still getting power. Once you've done this, you set up the Heat Link first.

Step 3: disconnect your old thermostat
For the installation, you remove the front from your thermostat. Take a photo of the wiring, so you know how it should be connected. After this, remove all cables that are connected to other cables and put them aside. In the installation manual, you can find labels that you can stick to the cables. Now you disconnect the cables and the thermostat entirely.

Step 4: mount the thermostat
Use the cover plate if the Nest thermostat is smaller than your previous thermostat. First run the cables through the mounting plate and attach it at the top with the included screw. For hard walls, you have to drill a hole first. Mount the thermostat level and tighten the bottom screw as well. Make sure all the cables still hang neatly.
Step 5: connect the cables
Connect the cables to the right connectors. You do this by pressing the connectors. Keep the cables apart and make sure they don't stick out from the base. Then you attach the screen to the base. You hear a loud click when it's in place. If everything is connected correctly, you can turn the power back on. The thermostat will boot, after which you can start the setup. If you can't connect it, you can also buy a new signal cable.

Step 6: connect your thermostat to the internet
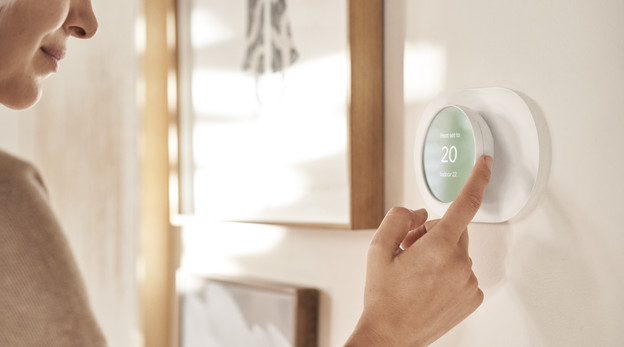
The thermostat will walk you through these final steps. Make sure you know your WiFi password. It's also useful to keep the photo of the cables within reach. You can rotate the thermostat to scroll and select an option by pressing the top and bottom of the thermostat. This way, you set up your thermostat and your home will always be the perfect temperature from now on.
Article by Daniël
Thermostat Expert.
