How do you set the sound of your PS4 headset?
Set up the sound in 4 steps
Go through the following steps to adjust the sound settings of your headphones.
Step 1: check the headphone jack.
Step 2: select the headset.
Step 3: change the settings.
Step 4: turn the chat audio on our off.
Step 1: check the headphone jack

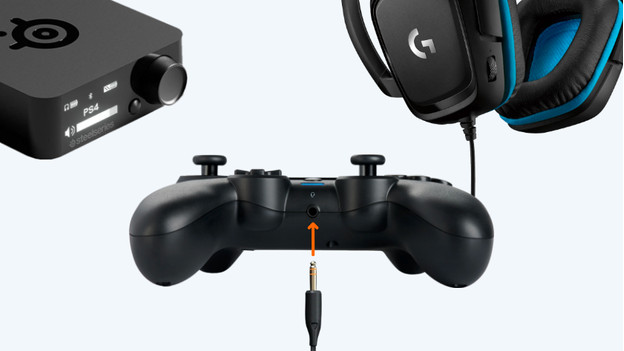
Connect the cable and connector of your PS4 headset properly.
- Does your headset work via a 3.5mm cable? Connect it to the 3.5mm connector of your controller.
- Do you have a headset with a base station? Check the optical audio connector.
Step 2: select the headset

You can adjust your gaming headset via the settings page of your PS4. Go to 'Settings' > 'Devices' > 'Audio devices'. Select your headset as the output device. Do you use a microphone? Select the same headset as the input device.
Step 3: adjust the settings

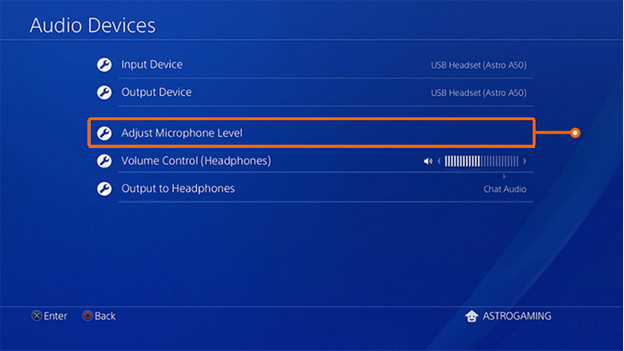
You can adjust the sound settings of your PS4 headset under 'Audio devices'. Check the following settings:
- Adjust microphone level: adjust the output volume of your microphone, so your team mates can hear you properly.
- Volume control: adjust the volume with the [L] and [R] buttons on your controller.
- Sidetone volume (only if your PlayStation 4 headset supports this): determine how loudly you hear yourself.
Step 4: turn chat audio on or off

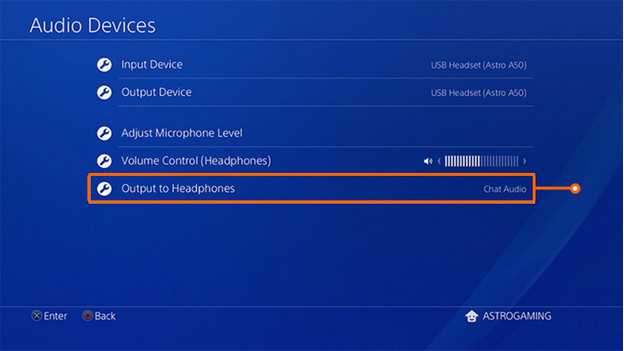
Now that you're sure your headphones work, you can change the chat settings to your liking.
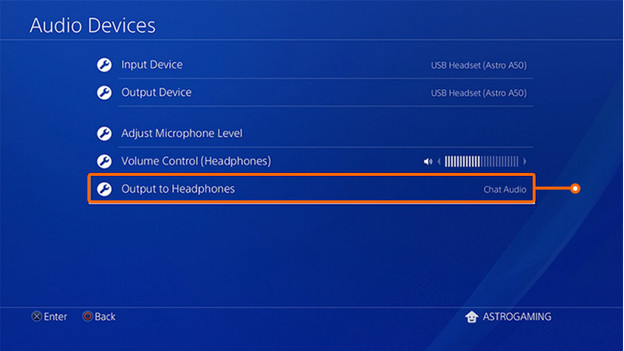
- Chat audio: select this option to only hear chat audio via your headset. This way, you can hear each other better when you play in a party. All audio: if you check this box, you also hear in-game sound effects and music in addition to the chat audio via your headset.
Tips
- If you connect a headset to the PS4 for the first time, the volume is at about 80%. To increase this, go to 'Settings' > 'Devices' > 'Audio devices' > 'Volume control'.
- Check if you didn't accidentally enable the mute function of your microphone. You can often find this in the ear cup, or you can control it with the buttons on the headphone cable.


