

How do you install a freestanding Beko dishwasher?
Connect freestanding Beko dishwasher in 4 steps
To install your freestanding Beko dishwasher, follow these 6 steps.
- Step 1. Connect the drain hose.
- Step 2. Connect the supply hose.
- Step 3. Adjust the adjustable legs.
- Step 4. Fill the dishwasher with salt and rinse aid.
- Step 5. Determine the water hardness.
- Step 6. Clean the dishwasher.
Step 1: connect the drain hose
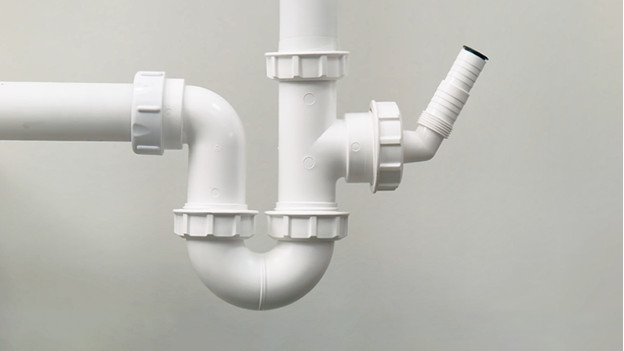
To connect the drain hose, unscrew the tail piece of the trap and remove the blue lid. Slide the tail piece into the drain hose and fix it in place with a ring.
Step 2: connect the supply hose
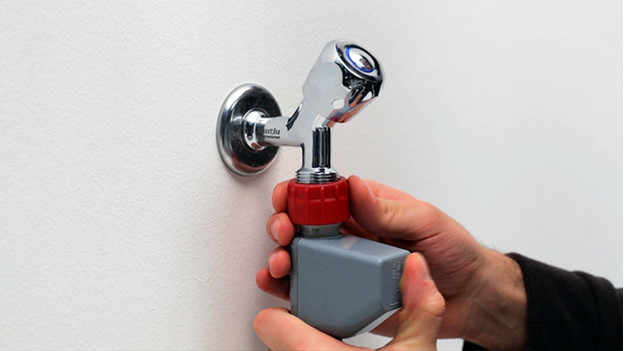
Check if water is coming out of the water supply. If so, you're ready to connect the water supply hose. Attach it to the back of the dishwasher first. When it's firmly in place, connect the hose to the water supply. Open the water supply and check the connections for any leaks.
Step 3: adjust the adjustable legs

Detach the baseboard at the bottom of the dishwasher first. This is where you'll find the 2 front legs. If you tighten or untighten them, the legs become either shorter or longer. Install the dishwasher first, and make sure that the supple hose and drain hose don't have any kinks. Check if the dishwasher is level. Isn't this the case? Tighten or untighten the adjustable legs until the dishwasher is level
Step 4: fill the dishwasher with salt and rinse aid

Before you can use your Beko dishwasher for the first time, you have to fill the appliance with rinse aid and salt. The salt compartment is at the bottom. Unscrew the lid and fill the compartment with water. Then, add dishwasher salt. In the door, you'll find a small latch for the rinse aid. Fill it completely. If you use 3-in-1 pods, you don't have to do this. That's because 3-in-1 pods already contain rinse aid and salt.
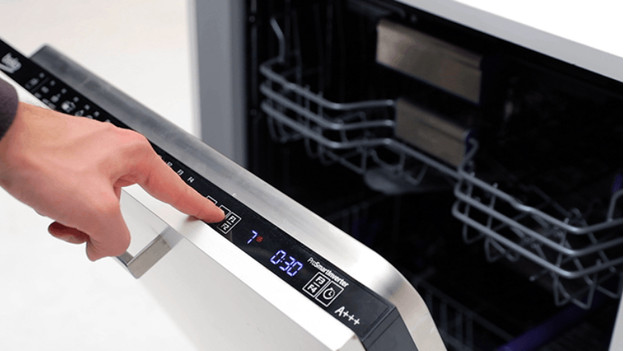
Step 5: determine the water hardness
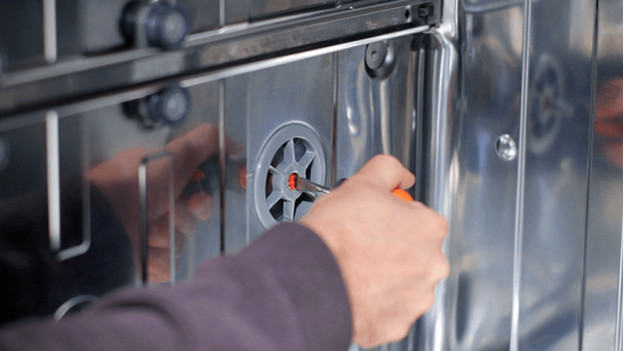
The Beko dishwasher includes a strip you can use to determine the water hardness. Simply submerge it in water. You can tell what the water hardness is by the number of squares that turn dark. In the manual, you can read which hardness level to choose via the display. Inside the dishwasher, there's a gray circle with a red dial. Set it to the same water hardness level.
Step 6: clean the dishwasher
Before you can use the dishwasher, you have to clean it. Run a 70°C cycle with an empty drum to do so. This removes possible musty smells.