
How do you edit your photos in Photoshop Elements?
Get started with Photoshop Elements
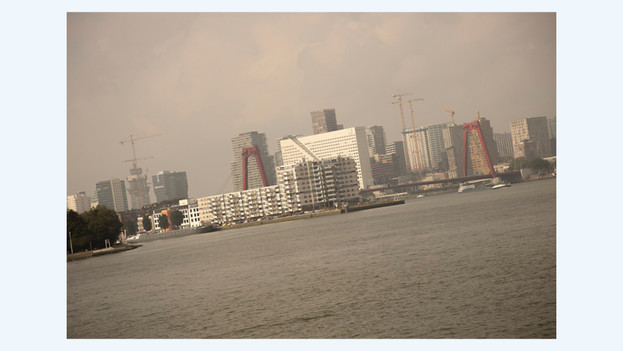
As a photographer, you use your camera settings to decide how to take photos in the moment. Some things, might go wrong, so your photos don't end up how you like them. It could be a wrong white balance, or an overexposed photo. That's nothing to worry about. You can easily edit your photos with Photoshop or Photoshop Elements.
- Tip 1: avoid unnecessary edits
- Tip 2: make the lines straight
- Tip 3: adjust the brightness and the contrast
- Tip 4: make sure you have the right color balance
- Tip 5: brush up your photos with the Healing Brush tool
Tip 1: avoid unnecessary edits
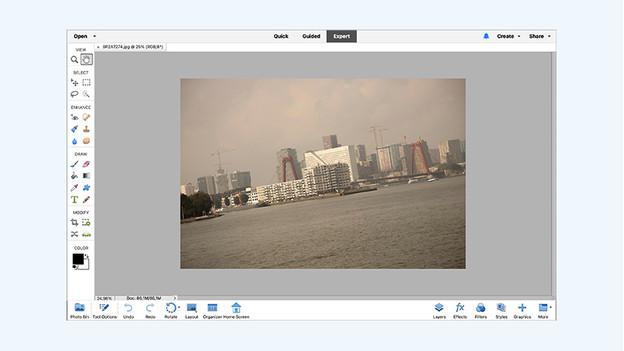
Prevention is better than cure. This also goes for photographers. Make sure you take a photo as well as possible. Keep these tips in mind:
- Hold your camera straight while you take photos, this avoids a slanted horizon.
- Use the RAW files when you edit, if your camera offers this function. This file format contains more raw information, so photos are easier to edit.
- Put your white balance of your camera to automatic. Also regularly check if you still use the right white balance. This prevents an unwanted color cast.
Tip 2: make straight lines
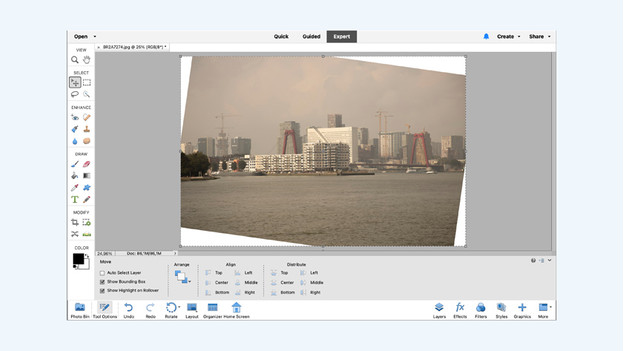
It happens to every photographer. You upload your photos and find out the horizon is slanted. You had to be quick, for example. Or the angle of your photo was so tough you had no other choice. With the Straighten tool, you can easily straighten the horizon. Check with the grid if the lines you want to straighten are really straight. This tool does crop your photo slightly, so it'll get a bit smaller.
Tip 3: adjust the brightness and the contrast
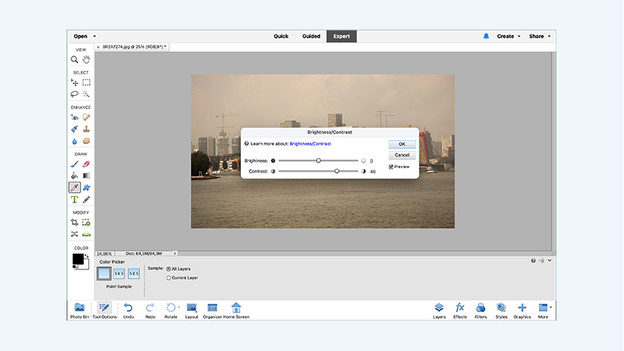
If the lighting of your photo isn't as you like, you can adjust it with the Brightness and Contrast tools. By sliding the bar for Brightness, you can brighten or darken the photo. That way, you can turn a bunch of clouds into a white sky. With the contrast slider, you can adjust the difference between light and dark in the photo.
Tip 4: make sure you have the right color balance
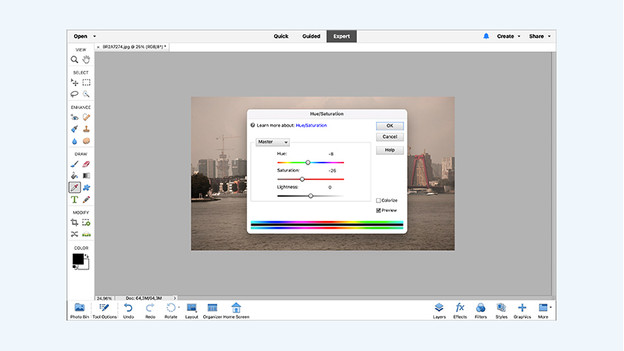
Digital cameras often have a function which manages the white balance. In the automatic mode, the camera measures the color temperature of the surroundings, and it'll adjust the colors of the photo. If these reading goes wrong, you'll get a color cast. As a result, photos are too yellow or too blue. By adjusting the color balance, you can provide a neutral color representation. You add more blue to photos with a yellow color cast to bring the photos in balance.
Tip 5: brush up your photos with the Healing Brush tool
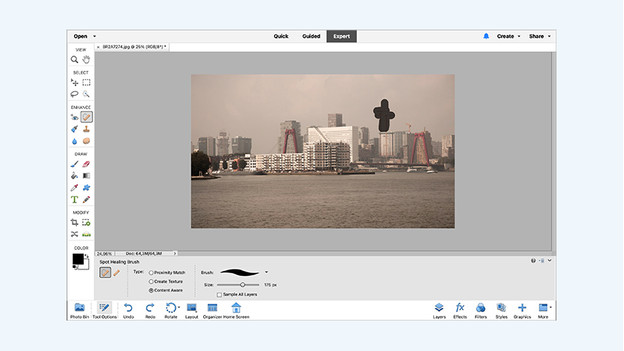
You might miss something while you take photos. There's a passer-by walking in the frame, for example. Or worse, your sensor is dirty and leaves spots on your photos. Luckily, you have the Healing Brush tool. With this tool, you can easily brush away distracting elements. Move the brush over the area you want to brush away, and Photoshop will fill the rest of the photo. Keep in mind that you don't introduce new errors in your photo when you brush others away.


