

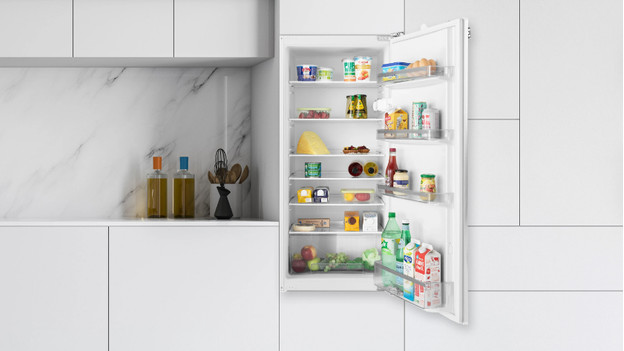
How do you build in a fridge?
Installation of your built-in fridge
To install your built-in fridge yourself, follow these steps:
- Make sure you have the right tools.
- Check if the door direction is correct.
- Attach the back cover and rubber seals.
- Secure the fridge.
- Attach the front panel.
Step 1: the right tools

To install a fridge, you need the following:
- Cordless drill
- Torx screwdriver (usually T20)
- Tape measure
- Wrench
- Pencil
- Hammer
- Spirit level
- Original installation manual.
Every brand and model is different. As a result, you might need different tools.
Step 2: check if the door direction is correct

Check if the door direction is correct. The door direction is the side to which the door opens. This is important, because this way, you can be sure that the door can open completely and that you have access to everything. Is the door direction incorrect? Turn the door over. Check the manual for this.
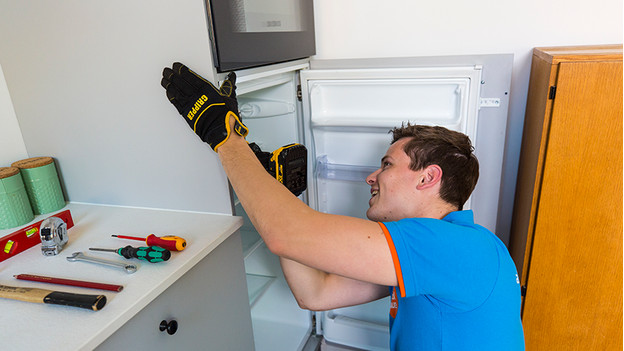
Step 3: attach the back cover and rubber seals

Place your fridge in the niche, but don't place it all the way to the back yet. You have to attach the back cover and rubber seals first. A back cover ensures the fridge can't move too far back. Afterwards, stick the strips to the sides. These seals prevent gaps on the sides of the fridge. Once you've put the back cover and the rubber seals in place, slide the fridge into the niche. The front of the fridge should be level with the front of your kitchen cabinet. Keep in mind you still need to be able to reach the power cord easily.
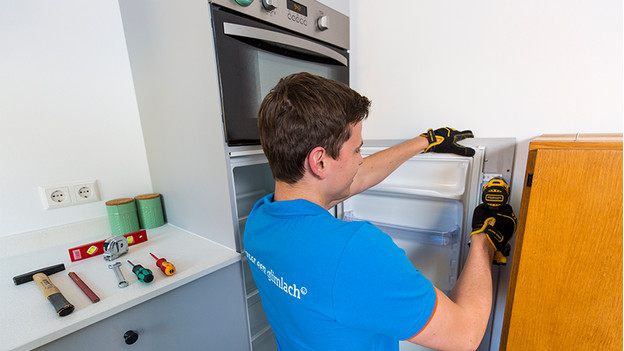
Step 4: secure the fridge

Once you've placed the fridge in the niche, you need to secure it. You can read exactly where and how to do this in the manual of your built-in fridge This varies greatly per type and brand. For step 4, it's important that you know what type of hinge you have: a sliding door or a door-on-door.
Step 5a: attach the front panel (sliding door)
Place the slide system holder on the fridge door. Use the pre-drilled holes for this and look carefully where the slide system should be. Always leave 2 inches between the last bit of the system and the end of the door. Mark these clearly and then screw the slide system to the front panel. Does the door not close properly? Adjust the hinge with the screws until the door closes completely.
Step 5b: attach the front panel (door-on-door)
Use the tape measure to check where you need to drill the mount in the front panel. The manual explains how to measure this exactly. Mark the correct spot with a pencil and place the hinges on the mount. Then, fasten everything with the included screws. When everything is secured into place, hang the panel on the fridge door. If the panel is slightly skewed, you can easily adjust it with the screws. When the door is straight, secure it with the remaining mounts.