

How do you install a wired doorbell?
Connect a wired doorbell to current wiring in 3 steps
This is how you can connect a doorbell to your current wiring:
- Step 1. Attach the back plate.
- Step 2. Connect the wiring.
- Step 3. Attach the doorbell to the back plate with screws.
Step 1: attach the back plate
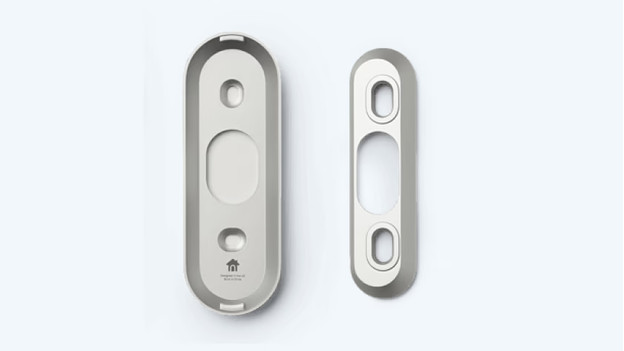
Attach the back plate to the doorframe with screws. Check the manual of the doorbell for specific instructions for your doorbell type.
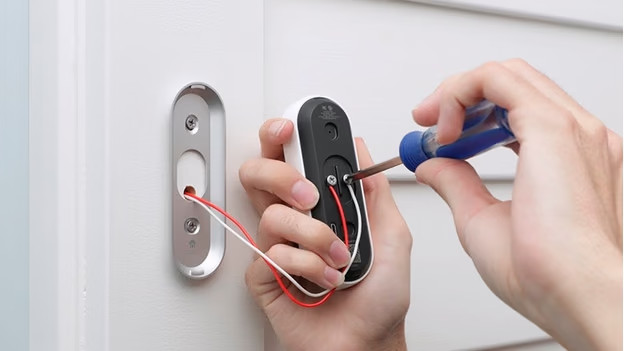
Step 2: attach the wiring
Then, put the strands of the bell wire in the designated openings on the back of the doorbell. Make sure the end of the bell wire is stripped down. If this isn't the case, you need a wire stripper. After that, tighten the screws of the bell wire with your screwdriver.
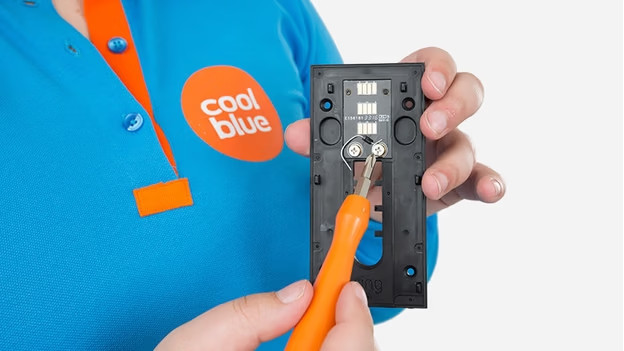
Step 3: attach the doorbell button to the back plate with screws
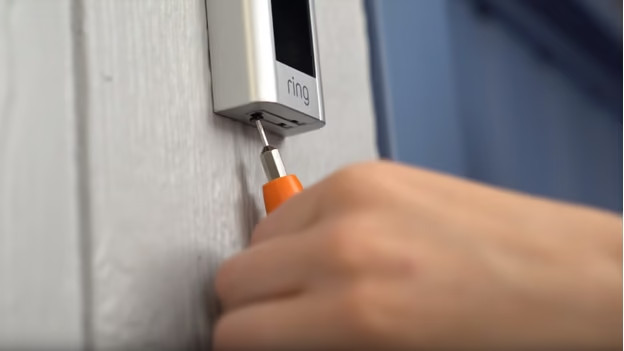
Attach the doorbell to the back plate you attached to the doorframe with screws, if necessary. You can find how this works for your specific doorbell in the manual. Press the doorbell button to check whether the doorbell works. Note: some doorbells only work once they've been attached to the back plate.