Written by Giorgos
Edited on
18 December 2025
·
15:06
Build your Samsung SSD into your PlayStation 5 in 1 of our stores
With an extra M.2 SSD, you can increase the storage capacity of your PlayStation 5. For example, if you don't have enough space for a new game. In this article, we'll explain step by step how you install an M.2 SSD in your PS5. That way, you'll have plenty of space for the latest releases.
What do you need?
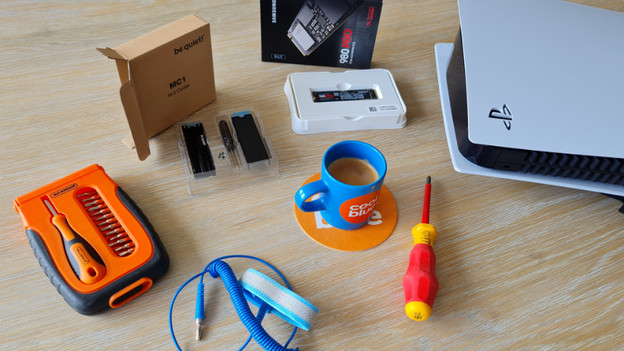
Installing the M.2 SSD in your PlayStation 5 isn't a huge job, but it does require the necessary preparation and tools. Below, you can find a list of what you need:
- A PlayStation 5
- An M.2 NVMe SSD with a read and write speed above 5500MB/s
- A small Phillips screwdriver
- A mat or towel
- Optional: a M.2 SSD cooler
- Optional: antistatic wrist strap
- Optional: a nice cup of coffee
Install an M.2 SSD in a PS5 in 7 steps
- Step 1: update the firmware of your PlayStation
- Step 2: prepare your M.2 SSD
- Step 3: install the SSD in the cooler (optional)
- Step 4: open the PlayStation 5
- Step 5: install the M.2 SSD
- Step 6: reconnect the PlayStation 5
- Step 7: format and install the SSD

Step 1: update the firmware of your PlayStation
You only have to perform this step if your PlayStation 5 doesn't have the latest update yet. Is there no new update available yet? Go on to step 2.
Before you get started on installing the SSD, it's important that your PS5 is completely up to date. Go to 'System' and select 'System Software Update and Settings'. Perform the update and wait for the installation to finish. After, you turn the PlayStation 5 off and disconnect all of the cables.

Step 2: prepare your M.2 SSD
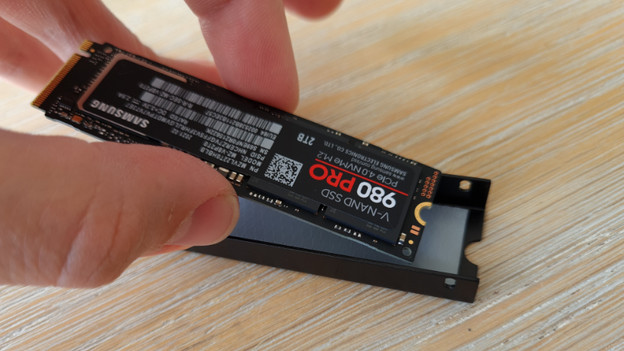
Take the M.2 SSD out of the packaging and double-check if it has the NVMe protocol and a read and write speed of at least 5500MB/s. It'll be indicated on the label of the SSD or in the manual. Do you have a used SSD? Transfer your data to a different drive. The PlayStation will delete all existing data during formatting. Is your SSD already installed in a cooler? In that case, you're ready to get started and you can go on to step 4. If the SSD doesn't have a cooler yet, go to step 3.
Step 3: install the SSD in the cooler
Open the packaging of your new SSD cooler and remove the plastic from the thermal plates. These are the white plates on the inside of the cooler. Place the SSD on the thinnest part. This is the bottom part of the cooler. Make sure the half-circle of the SSD is aligned with that of the cooler, because the screw will pass through. Next, place the top onto the cooler and secure the screws on the side.

Step 4: open the PlayStation 5
Lay out your PlayStation 5 on the towel or mat with the PlayStation logo facing down and with the power port at the back facing you. Hold the back left corner with your left hand. This is the corner with the CD tray, if your PlayStation 5 has one. Hold the front right corner with your right hand. Carefully push this corner upwards. While doing this, you slide the cover left with your left hand. You'll have to use some force, but don't apply too much pressure. If you do it carefully, you avoid damaging the cover. Now that the cover is off, you can see the M.2 slot.
Step 5: install the M.2 SSD
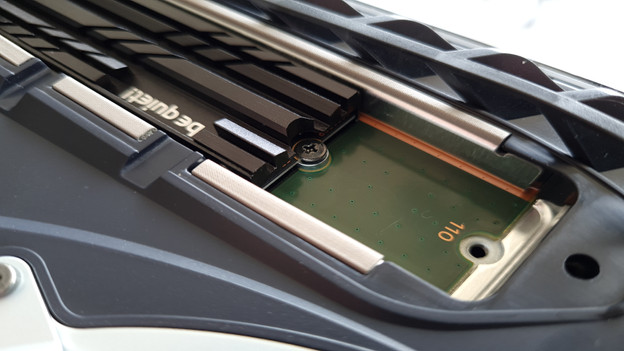
Now it's time to install the M.2 SSD. Remove the spacer from the 110mm screw hole and move it to the M.2 SSD format. You can recognize the M.2 SSD format by the last 2 numbers. For example, do you have a 2280 M.2 SSD? In that case, your SSD is 80mm long. Take your SSD with cooler and slide it into the M.2 slot at a 54-degree angle. Slide it into the slot as far as you can and then push the SSD downwards. Next, you secure it in place on the spacer with a screw through the half-circle.
Step 6: reconnect the PlayStation 5
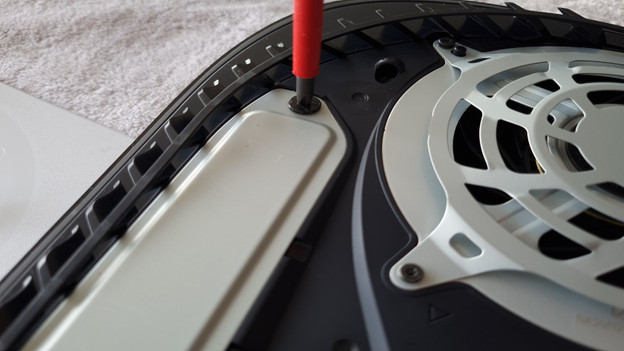
Screw the metal cover back onto the M.2 connector and place the underside on the PlayStation 5. Carefully push the cover to the right until you hear a click. Reconnect all of the cables as they were before. It's time for the final steps.

Step 7: format and install the SSD
When you turn the PlayStation 5 on again, a notification will appear on the screen. It tells you to format the SSD again. Click 'Format M.2 SSD' and wait until it's finished. Go through the steps that appear on the screen and log in with your PlayStation account. Then go to 'Settings' and click 'Storage'. Check if your SSD is listed here. Does it say 'M.2 SSD Storage' below 'Console Storage'? That means the installation was successful.