

Do's and don't for novice photographers
Do's and don't for novice photographers
- Set the camera manually
- Set the white balance
- Focus manually
- Photograph in RAW
- Be creative with your position
- Use automatic mode
- Use too high ISO values
- Use too slow shutter speeds
- Photograph in JPEG
- Forget the background
Camera setting
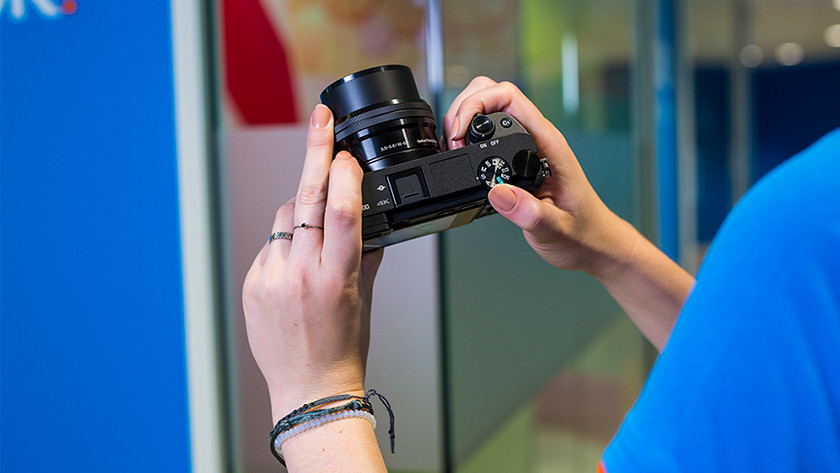
Do: set up the camera
You find different manual modes on your camera. The M mode is fully manually. You choose the shutter speed, the aperture, and the ISO value. If you find this hard, there are two more options, preset shutter speed and preset aperture. If you choose preset shutter speed, you set the shutter speed. To get the right lighting, the camera adjusts the aperture and ISO value according to your shutter speed. Do you want to create a blurry background? Choose the aperture preset.
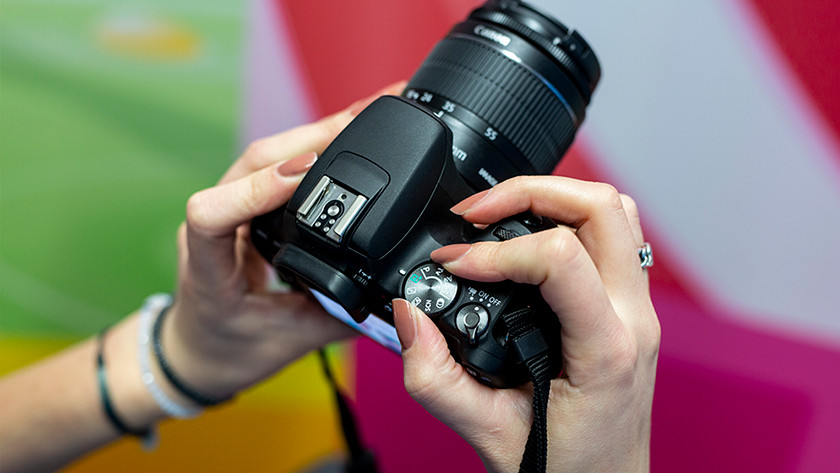
Don't: use automatic mode
The automatic mode on your camera automatically sets the white balance, ISO value, shutter speed, and the aperture. This makes it easier to take photos, but it doesn't necessarily improve them. It's good to know what the white balance and ISO value exactly mean, if you intend to take photos in different locations and different weather. It makes it easier to respond to unexpected situations. We advise you to slowly decrease the use of the automatic mode and start taking photos manually.
Lighting
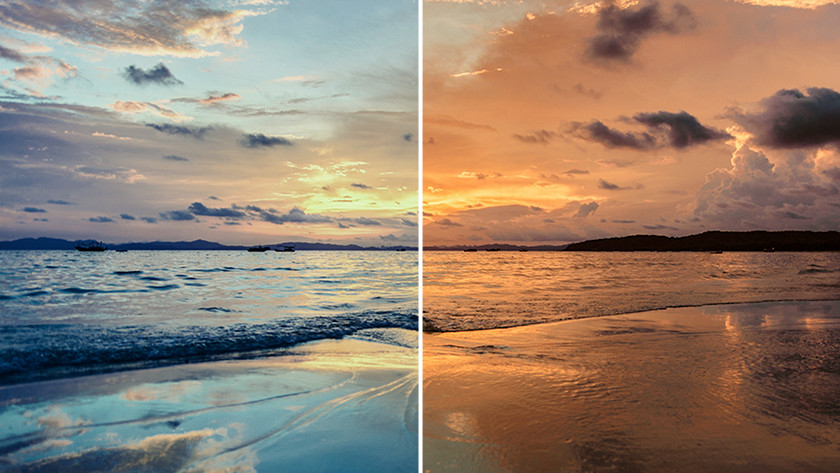
Do: set the white balance
The white balance tells something about the color temperature of your photograph and is expressed in Kelvins. Blue lighting has a high Kelvin value, while orange light has a low Kelvin value and warm atmosphere. If you set your camera to automatic white balance, the camera chooses the suitable white balance. During a sunrise, it's useful to set the white balance yourself. Choose a situation with a low value, so the camera adds extra blue to the photo for a more natural color.
Don't: use a too high ISO
If your ISO value is too high, the noise is more visible on your photos. This mostly happens when you have to increase the ISO value due to the darkness. Some cameras have a good noise reduction, but not all of them. To prevent using an ISO value that is too high, you can set a maximum ISO value. The camera won't exceed this value when the ISO is set on automatic. For example, choose a maximum ISO value of 1.600.
Focus
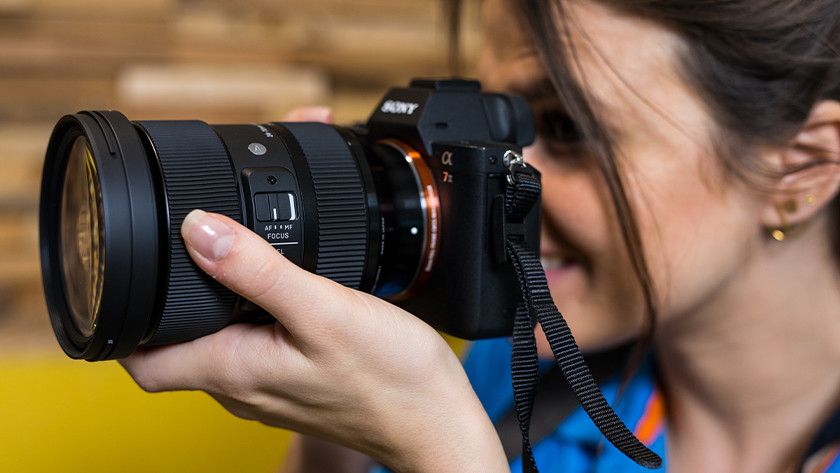
Do: focus manually
Most cameras have a very good autofocus. It's still useful to know how to focus manually. The autofocus might not work correctly in situations with a small depth of field. In those cases, it's useful to focus manually. You can focus by hand if you set your lens to the M mode and turn the focus ring. Keep turning until you see your subject sharply through the viewfinder or live view.
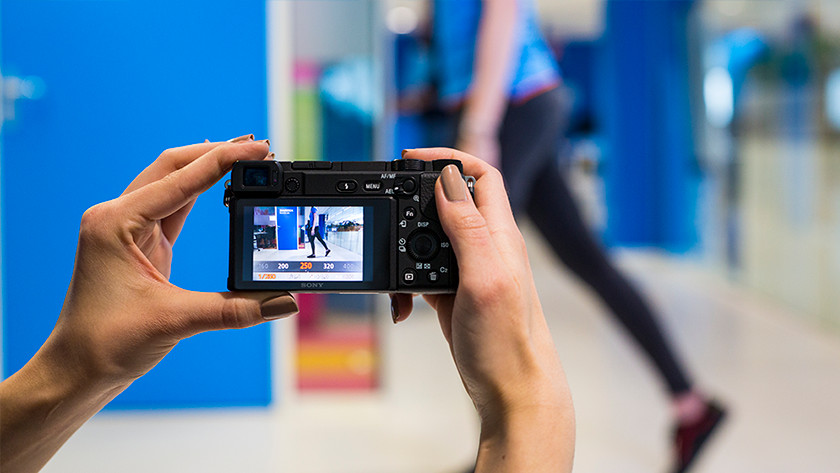
Don't: use too slow shutter speeds
A slower shutter speed lets you create the stripes of light on cars and makes flowing water look silky smooth. If you take these photos by hand, chances are the photo comes out blurry. So, don't use very slow shutter speeds when you take photos that way. Built-in image stabilization help to reduce the movement of your hand, but it's often not enough when using a slower shutter speed. A tripod is the solution to this.
File format
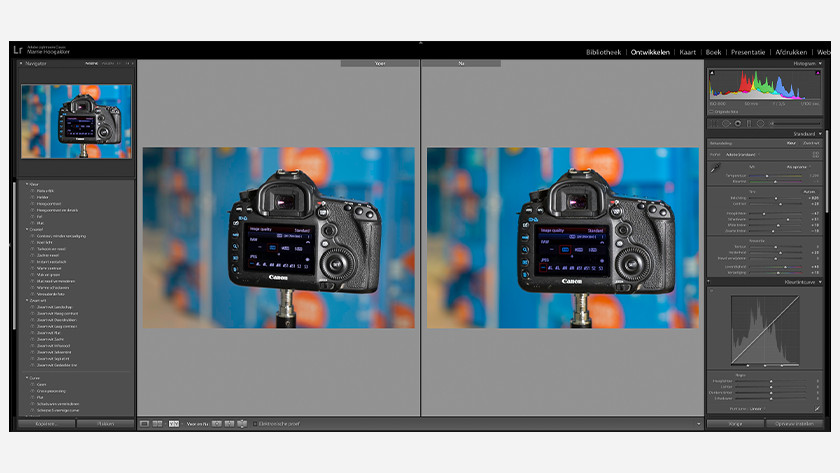
Do: photograph in RAW
If you want to edit your photos, we advise you to set your file format to RAW. RAW files take up more storage but offer more opportunities for editing afterwards. Nothing is added or removed from these photos, which means you're in control to make the photo look exactly the way you want. To edit these files, you need an editing program. For example, Lightroom or Photoshop.
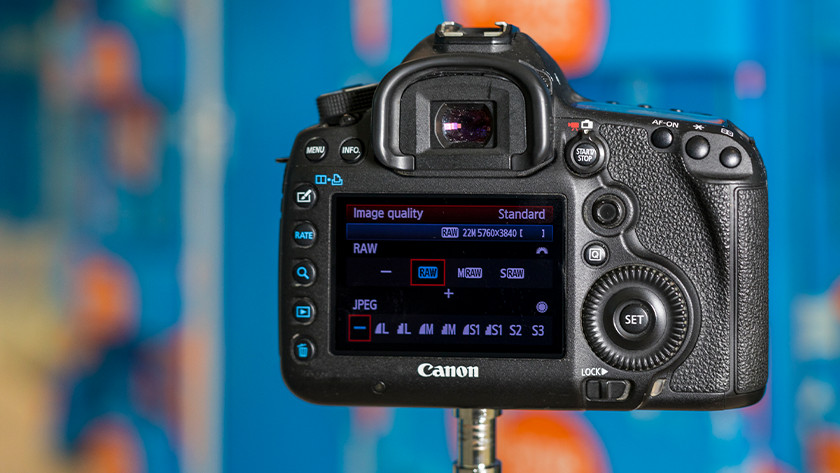
Don't: photograph in JPEG
A JPEG is an original file that has been compressed. This is why the JPEG file size is smaller than the size of a RAW file. The camera edits the colors and contrast of the photo, which makes the photo ready for use right away. If you edit these files, the photo information gets lost. This isn't optimal for the quality of the photo.
Composition
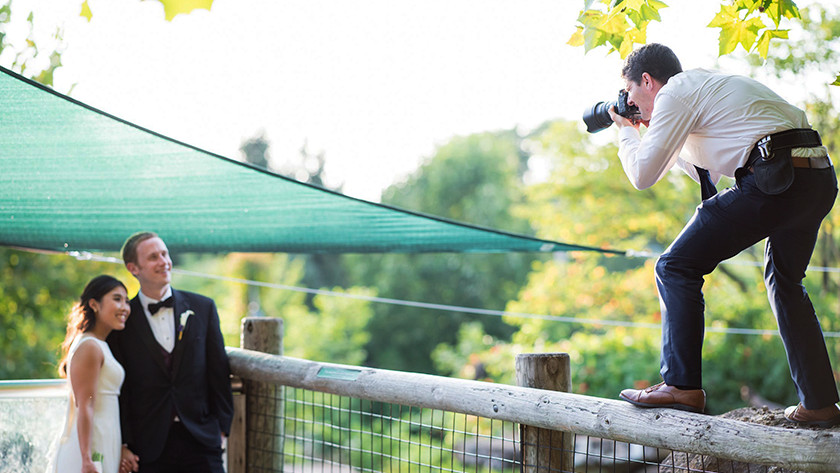
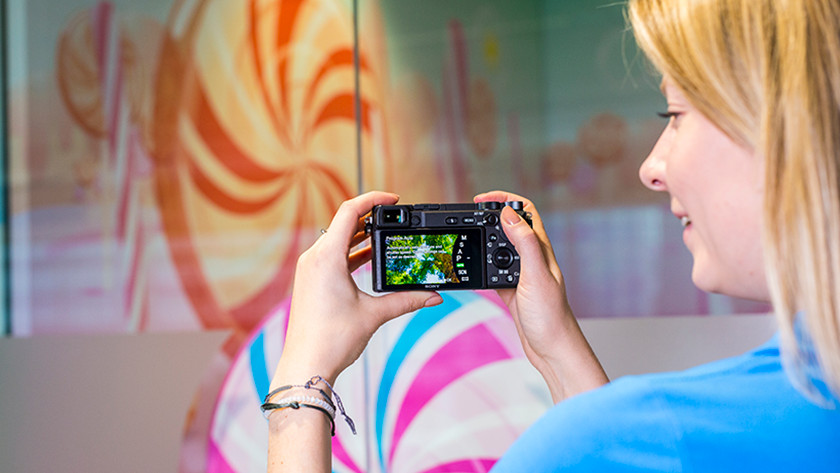
Do: choose an original position
The way you position your subject on the photo is called the composition. The right composition can transform a boring photo into an interesting one. Do you always take your photos from eye level? Try to stand on a stool, lay down, or take a step left for a more interesting composition. You learn more about compositions by experimenting.
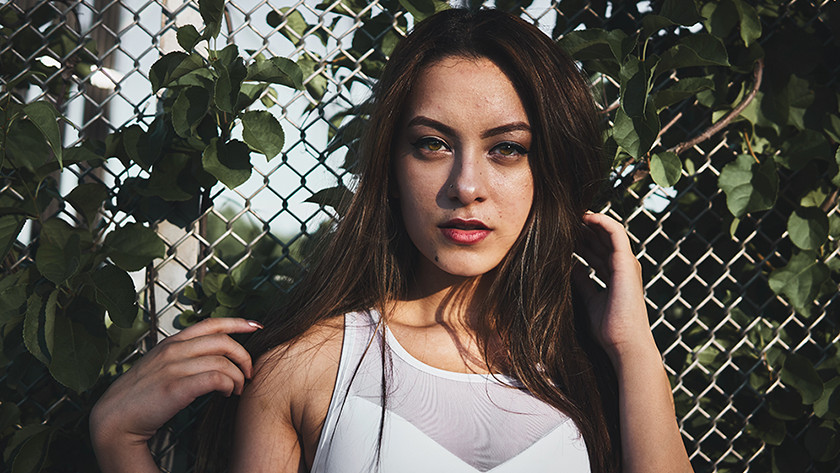
Don't: forget the background
It's important to keep an eye on the background when you're taking photos. Sometimes, when your model stands in front of an object, it looks like its coming out of their head. So, always make sure where you position your subject in the photo. Also, it's a good idea to check if the background suits the subject that you're taking a photo of.