Written by Giorgos
Edited on
30 September 2022
·
15:33
How do you create a shared folder on your Synology NAS?
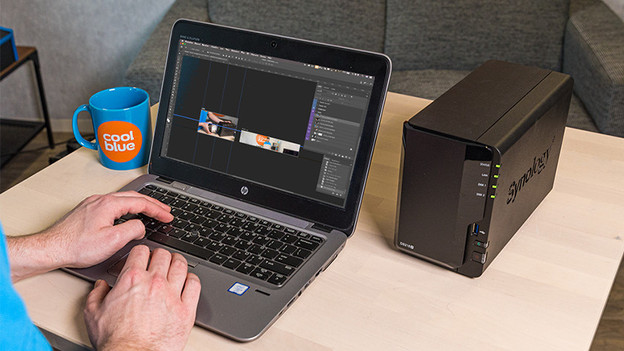
With a shared folder on your Synology NAS, you can create a neat overview of the documents you store and manage. Before you can store files, you have to have at least 1 shared folder on your Synology NAS. Via the steps below, you can read how to create a shared folder.
Create a shared folder in 4 steps
It's easy to create a shared folder, because it's essential for using your Synology NAS. Follow these 4 steps to create a shared folder.
- Step 1. Open the user interface via the connected computer
- Step 2. Create a shared folder
- Step 3. Select the volume
- Step 4. Set up the rights for users
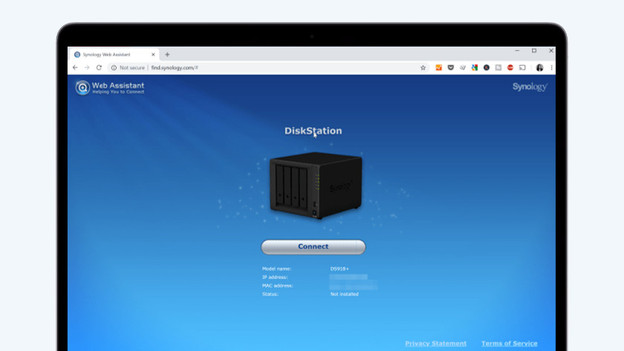
Step 1: open the user interface via the connected computer
Open Synology Find (http://find.synology.com) in an internet browser. This is the user interface which your computer uses to look for the connected NAS. When your device recognizes the NAS, it'll appear in the next window. If that's not the case, download the Synology Assistant and try again. Refresh the interface until it finds your NAS. Next, go to the configuration window.
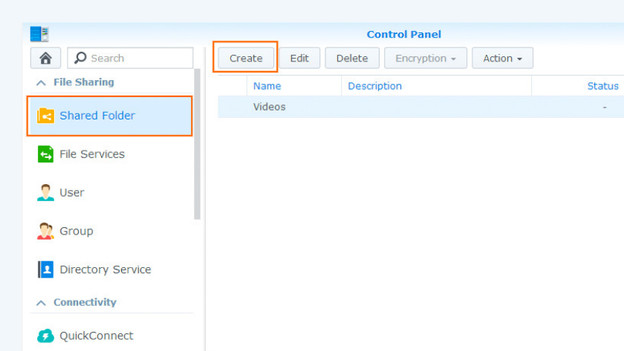
Step 2: create a shared folder
In the configuration window, you can create the shared folder. Choose 'Shared folder' and click 'Create'. Enter a name and description of your shared folder, like 'Movies' or 'My company'. Keep in min that the names of a shared folder are case-sensitive and that they can't contain some symbols. In addition, the name can't start or and with a space. Do you see an error message that says the name isn't correct? Check if it contains forbidden symbols or spaces at the beginning or end.
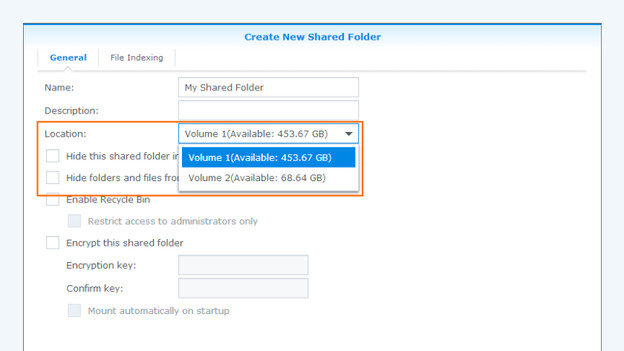
Step 3: select volume
The volume is a different word for the location where you want to store your information. 'Volume 1' refers to the hard drive you put in bay 1. If you have multiple hard drives, you're automatically offered the choice where you want to store your information. Do you only have 1 hard drive or storage location in your NAS. You can skip this step, because it'll be choses automatically. If you have more volumes, it's useful to track where you store your shared folder. Now click 'Ok'.
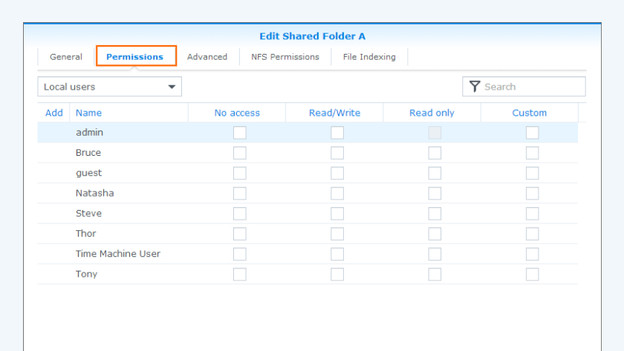
Step 4: set up the rights for users
In the following window, you can set up the rights for the folder. You can do that in general by checking the option 'Read/Write', or per user of the folder. This way, you'll know exactly who has which rights and who can access which shared folder. You can choose between the following rights. Done? Click 'Apply'.
- No access: no access to the folder for he selected user.
- Read/Write: full access to the folder for the selected user.
- Read-only: limited access to the folder for the selected user.
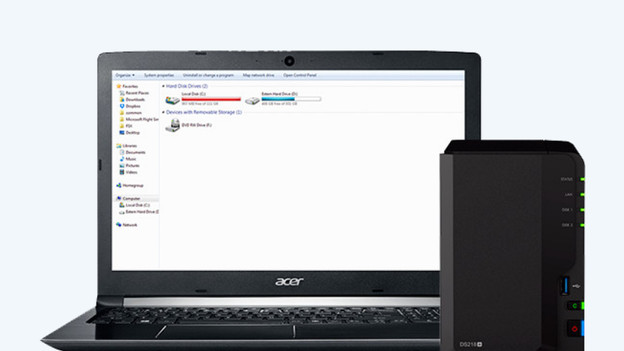
Access your NAS via Windows
You have made a shared folder and want to access it via your Windows computer. In the advice article below, we'll give a step-by-step explanation how to do so. Make sure you already have these things ready:
- A Windows computer that's connected to the same network as the NAS
- The name of your NAS
- The name of the created volume
- The name of the shared folder
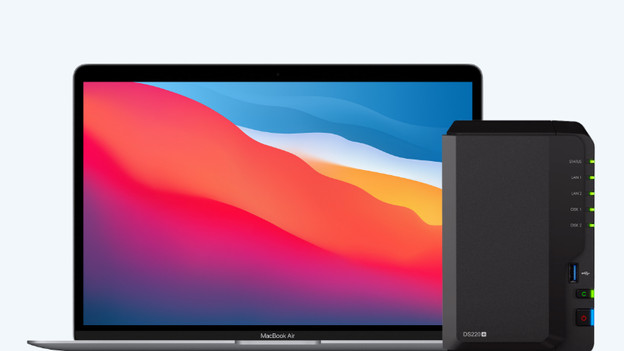
Access your Synology NAS via macOS
You have made a shared folder and want to access it via your macOS computer. In the advice article below, we'll give a step-by-step explanation how to do so. Make sure you already have these things ready:
- A MacBook, iMac, or Mac Mini that's connected to the same network as the NAS
- The name of your NAS
- The name of the created volume
- The name of the shared folder
Can't get it to work?
We're happy to help you create a shared folder on your Synology NAS. Can't make it work with this guide? Contact our customer service.
Article by Giorgos
NAS Expert.