Written by Giorgos
Edited on
24 October 2023
·
06:51
How do you install your Synology NAS?
You bought a Synology NAS and want to start storing files right away. But where do you start with the setup? Do you first place the drives, or set up the DSM and apps? Don't worry. In this advice article, we'll explain step by step how to set up your Synology NAS.
Set up your Synology NAS in 7 steps
It's quite easy to set up your Synology NAS. Follow these 7 steps to set up your new Synology NAS.
- Step 1. Place the hard drives in the NAS.
- Step 2. Connect the NAS to the network.
- Step 3. Install the DSM software.
- Step 4. Go through the installation and enter your information.
- Step 5. Select the storage pool and volume.
- Step 6. Create a shared folder.
- Step 7. Make the NAS accessible on other devices.
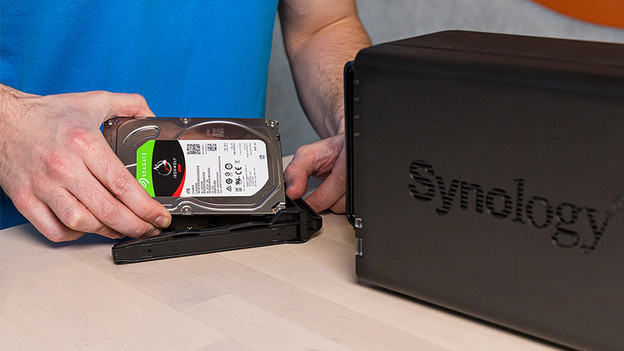

Step 1: place the hard drives in the NAS
First, place the hard drives in the NAS. You can find these slots on the front of your Synology NAS. Some models have a magnetic front panel you can easily remove. Pull the drive holder out of the NAS and remove the mounting panels on the side. Place your HDD in the bracket, reattach the panels, and slide the hard drive into the NAS. Do you have a 2.5-inch hard drive? Attach it with screws on the indicated spots. Repeat this step if you use more than 1 hard drive, then go to step 2.
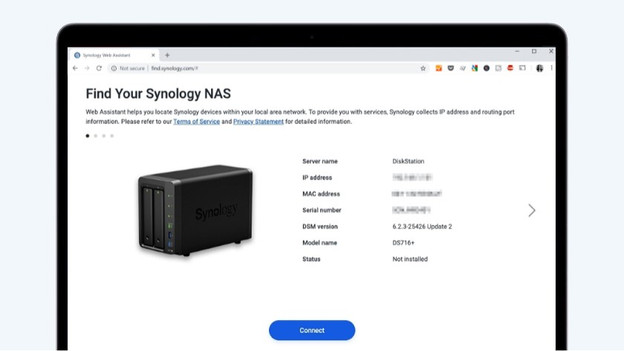
Step 2: connect the NAS to the network
Switch on the NAS and connect it to your router via a network cable. That way, you always have a stable internet connection and won't be bothered by disruptions. Open a web browser on your computer and go to find.synology.com. If the connection is good, you'll see your NAS on this screen. Click 'Connect' and your network will do the rest. Then, click 'Install' and continue setting up the DSM software.

Step 3: install the DSM software
Once you've clicked 'Install', you get the option to install the DSM. Choose the automatic installation option and click 'Next'. Keep in mind that this installation wipes all data on your drive(s). This is mostly important if you transfer your old drives to a new NAS. Via the link below, you can read more about transferring old drives. Click 'Confirm' and start your DSM installation. This takes about 10 minutes.

Step 4: go through the installation and enter your information
After you install the DSM, you have to enter some information. For example, the NAS asks for a device name and an administrator account. The device name is the name that's visible everywhere. When you want to connect a device to the NAS, for example. The administrator account is the name of the person who manages the NAS. Enter a password and click 'Next'. Choose which update option you want for the NAS here. The recommended option is to automatically download major DSM and package updates. You also have the option to get all updates automatically or install them manually. Click 'Next' to go to the desktop of your NAS.

Step 5: select the storage pool and volume
Before you can store files, you have to select where and how the NAS should do this. Go to 'Storage Manager' and select the 'Volume' menu. Click 'Create' and go through the installation. Want to set up your RAID setup yourself? Choose the manual installation. If you do this automatically, select SHR for the fastest installation. Select the disk(s) for the volume and click 'Next'. Check the Btrfs box here and continue with the installation. The NAS will now perform a parity test, but remains usable.

Step 6: create a shared folder
After the installation, you also want to make the NAS accessible externally. You can do this via QuickConnect. Go to the control panel and select 'Shared Folder' or 'Shared Folder'. Click 'Create' and enter the name and description of the folder. Your colleague's name, for example. Remember that shared folder names are case sensitive and don't allow all symbols. Then, select the volume and set the rights for the users of the shared folder. In the following advice article, you can read more about creating a shared folder via QuickConnect.
Step 7: make the NAS accessible on other devices
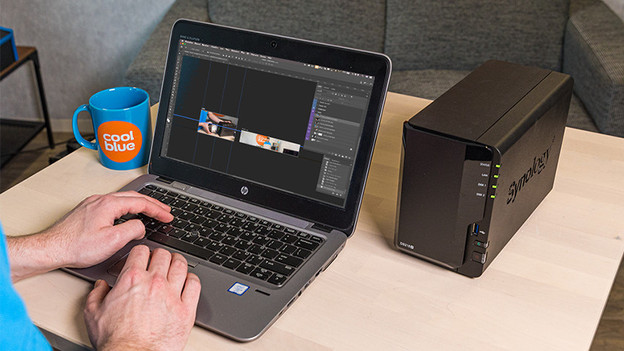
Windows
You have made a shared folder and want to access it via your Windows computer. In the advice article below, we'll give a step-by-step explanation how to do so. Make sure you already have these things ready:
- A Windows computer that's connected to the same network as the NAS
- The name of your NAS
- The name of the created volume
- The name of the shared folder
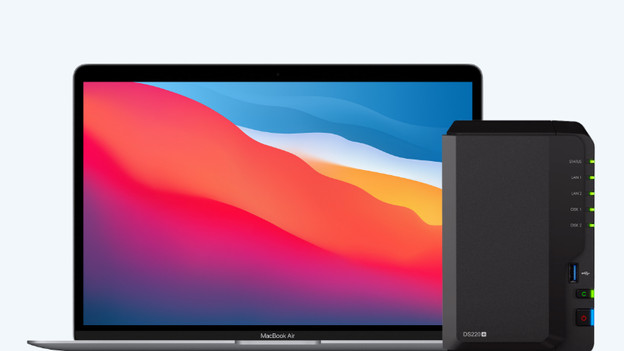
Mac
Do you have a Macbook Air or iMac you want to use the NAS with? You through more or less the same steps as with a Windows PC. In the following step-by-step plan, we'll explain from A to Z how to do this. Make sure you have the following:
- A Macbook, iMac, or Mac Mini that's connected to the same network as the NAS.
- The name of your NAS.
- The name of the volume created.
- The name of the shared folder.
Questions
Why doesn't the NAS recognize your drive?
There are several causes for this. Push your disk a little further into it. This is the most common reason why your NAS doesn't recognize the drive. If this doesn't work, check your hard drive's serial number in the compatibility list on the Synology website. It's possible that your hard drive doesn't work with your type of NAS.
If your NAS bay or your hard drive broken?
Your drive doesn't appear in your DSM. Are there any empty NAS slots? Switch off your NAS and install your drive in a different slot. If it does appear now, your NAS bay drive is defective. Is your NAS still not showing up? Your hard drive is probably broken. Please contact the customer service or repair it.
Why doesn't the NAS appear in your network?
Try resetting your NAS first, then reconnect it to the network. Do this again via find.synology.com. Does your NAS still not appear in the network? Reset your router. If your NAS doesn't appear, please contact the customer service.