Written by Rosalie
Edited on
1 October 2025
·
10:02
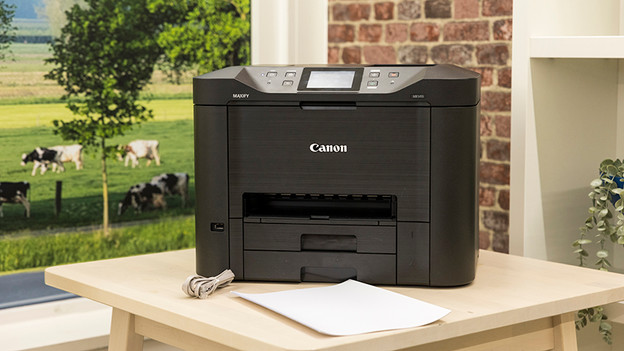
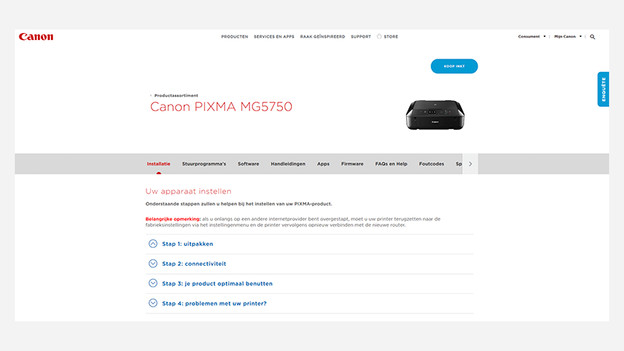
How do you install a Canon inkjet printer?
Want to use your new Canon inkprinter right away? It takes 6 steps to go from a boxed to a working printer. In this article, we'll explain these steps, so you'll have your first printout in your hands in no time.
Summary steps
Set up your printer and then your first printout rolls out in no time. You can do this with the following steps.
- Step 1. Prepare the printer
- Step 2. Insert cartridges and select language
- Step 3. Determine grids and align scanner
- Step 4. Install the software
- Step 5. Open the software
- Step 6. Connect
Note: want to print from your smartphone? Follow the steps in the article below.
Before you get started
Setup takes about 20 minutes. What do you need?
- Your Canon printer
- Your laptop or computer
- Ten sheets of A4 paper
- A printer cable (optional)
Note: we used the Canon PIXMA MG5750 for this article. The setup of other Canon printers is almost identical. If you encounter differences during installation, check the manual of your printer.
Step 1: prepare the printer
Leave the connector of the printer out of the socket.
- Remove your Canon printer from its packaging and remove all tape and transport material. Also make sure that you remove any protective material on the inside of the printer. Check the manual to make sure you don't forget any material.
- Insert the connector into the socket to power the printer.
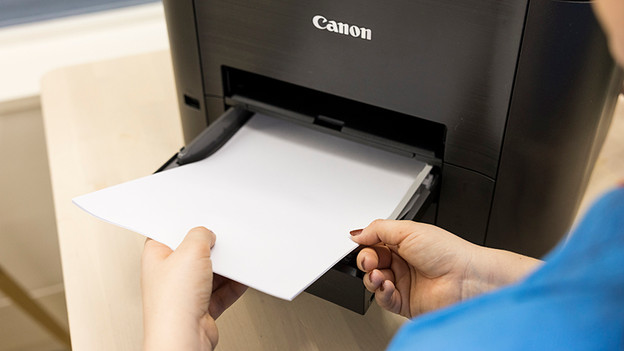
- Place paper in the paper tray.
- Plug the connector into the socket.
- Turn on the printer.
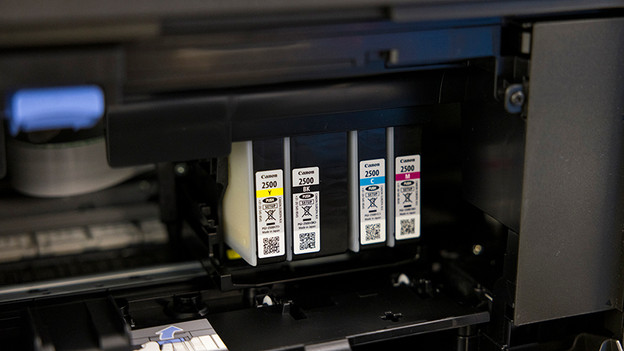
Step 2: insert the cartridges and choose the language
- Place the cartridges and then the sheets of paper in the input tray. The printer is now ready for use.
- Turn on the printer and follow the steps.
- One of the steps is choosing the language.
- Choose the desired language.
Note: most printers include setup cartridges. These cartridges often contain less ink and are needed for installation.
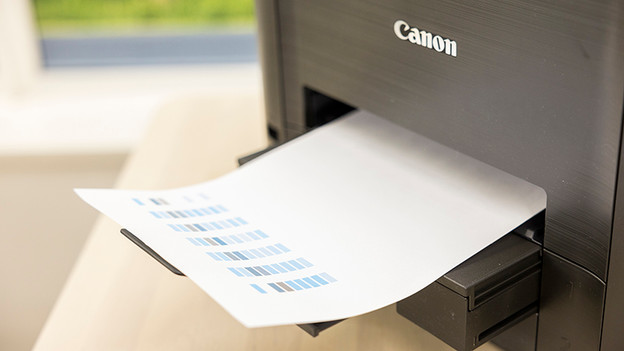
Step 3: determine grids and align the scanner
- The printer first prints a print to determine the grids. This means the printer determines where it prints on the paper. Check if you're satisfied with the print. If not? Reset the grids from the settings.
- Place the PCB on the scanner to align the scanner.
- Run the scan job.
Step 4: install the software
You've connected your printer. Now, we're going to make sure your computer can control the printer. We install software from Canon for this.
- Click the Canon support link at the bottom of this column.
- Enter the product name of your printer in the search bar, or select the correct printer family from the list under 'select product', for example PIXMA, i-SENSYS or MAXIFY. On the next page, you can choose the right line and the exact model. The model and number of your printer can be found on the front of the device, on the box, and in the manual. 3.Select the operating system on which you want to install the printer under Drivers, such as Windows or MacOS High Sierra. Right below it, click 'Download'.
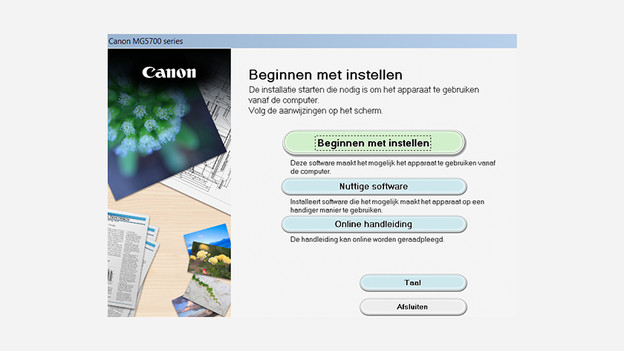
Step 5: open the software
Open the file and follow the steps. In the second step, choose whether you want to connect the printer via WiFi or with a printer cable. Installing the software takes a few minutes.
Step 6: connect to WiFi

Step 6.1: connect via WiFi
To connect to WiFi, either follow the steps via the Canon software or use the printer to connect. Connecting to the printer is the easiest option.
- On your printer, go to Settings, then to Device Settings, and finally to Wireless LAN Settings.
- Select Default settings or Setup without cable.
- Select the name of your network. This is called SSID.
- Enter the password for your WiFi network.
- Press OK.
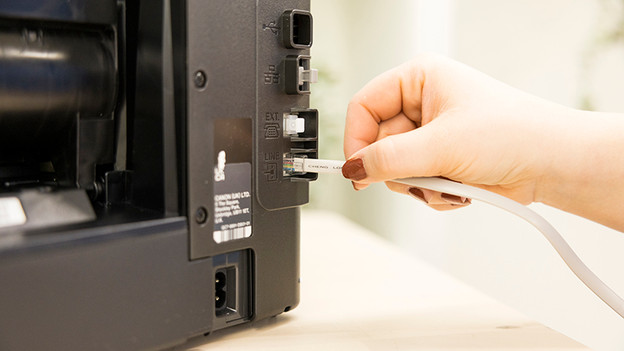
Step 6.2: connect via a printer cable (optional)
If you prefer to connect your printer with a printer cable instead of using WiFi, choose this option in the installation software. The rest of the installation is the same as in the previous steps.

Start printing
Your printer is installed. Start with making your first print.
Article by Rosalie
Printer Expert.