
Written by Lucinda
Edited on
3 September 2024
·
07:25
How do you remove accounts from your Apple iPhone?
Going to send in your iPhone for repairs or want to sell it? You want to empty your iPhone to make sure your personal information is safe. Turn of 'Find my iPhone' and return your iPhone to factory settings before you hand over your device. In this article, you can read how.

Remove accounts from your Apple iPhone
In order to remove accounts from your iPhone, you have to go through a couple of steps.
- Step 1. Make an iCloud backup.
- Step 2. Turn off 'Find My iPhone'.
- Step 3. Return your iPhone to factory settings.
Step 1: make an iCloud backup
When you remove accounts, your information is lost. That's why you should always make an iCloud backup, just to be sure.
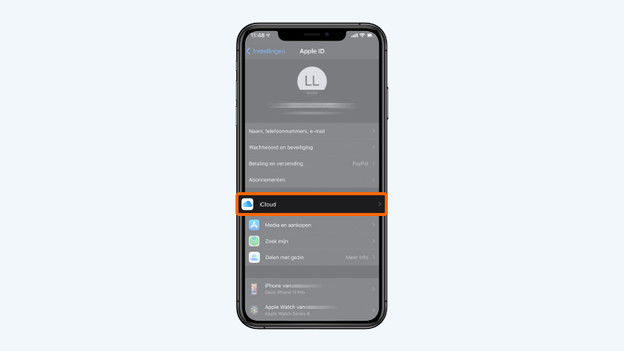
- Go to 'Settings', tap your name, and choose 'iCloud'.
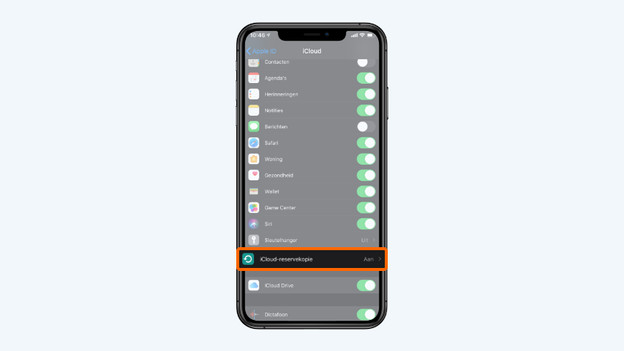
- Scroll down and tap 'iCloud Backup'.
- Choose 'Back Up Now'. Don't see this option? Tap the toggle so it turns green. If the backup was successful, you'll see the date and time at the bottom.
Go to 'iCloud' in the settings
Scroll down and choose 'iCloud'
Choose 'Back Up Now'
The backup will be made
Below, you can see the date and time of your latest backup


Step 2: turn off 'Find My iPhone'
If 'Find my iPhone' is turned on, nobody else can use your iPhone. That's why it's important to turn this off on your iPhone.
- Go to 'Settings' and tap your name.
- Choose 'Find My'.
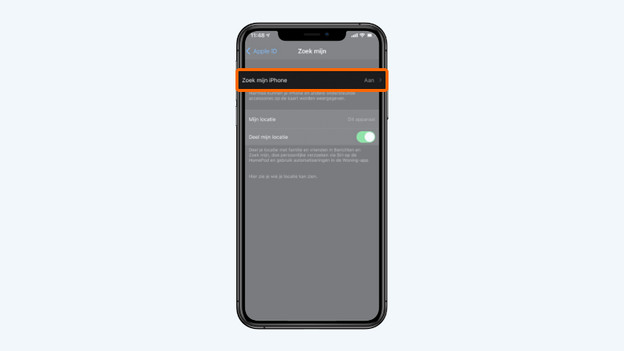
- At the top, it says 'Find My iPhone'. Tap it.
- Turn off 'Find My iPhone'.
- Enter the password of your Apple ID and tap 'Off' at the top right corner. 'Find My iPhone' is now disabled.
Go to 'Settings' and tap your name
Choose 'Find My'
Tap 'Find My iPhone'
Turn off 'Find My iPhone'
Enter your Apple ID password


Step 3: return your iPhone to factory settings
To remove all personal information from your iPhone, you have to reset your iPhone. Follow the steps below for this.
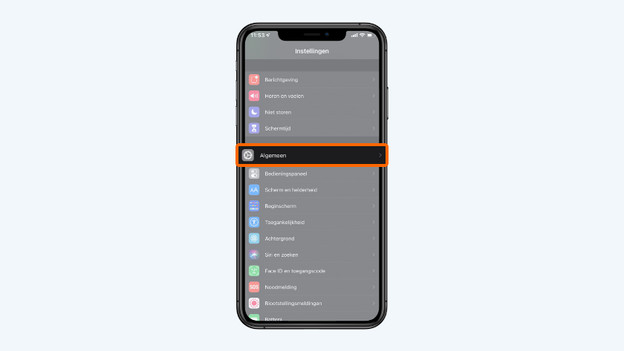
- Go to 'Settings' and tap 'General'.
- Scroll down and choose 'Reset'.
- Tap 'Transfer or Reset iPhone' and then Erase All Content and Settings'.
- Follow the steps on the screen. Was your iCloud backup successful? Enter your Apple ID password.
- Enter the passcode of your iPhone and tap 'Done'. All of your information will now be removed and the iPhone will be returned to factory settings.
Go to 'Settings' and tap 'General'
Choose 'Reset'
Tap 'Erase All Content and Settings'
Choose 'Erase Now'
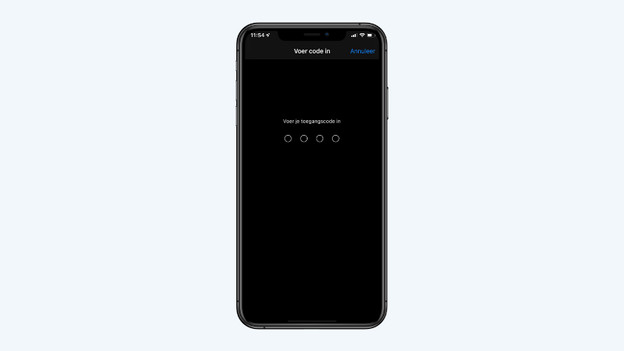
Enter the passcode of your iPhone


Article by Lucinda
Apple Expert.
