Written by Sanne
Edited on
1 May 2023
·
13:07
How do you clean the image sensor of your camera?
You see spots on your photos that shouldn't be there. This is probably caused by dust particles on the image sensor of your camera. Time to clean the image sensor. You can read in this article how to do this, . There's an explanation for SLR and mirrorless cameras. If you're not sure about your cleaning skills, always go to a camera expert.

Step 1: repeat the automatic cleaning option
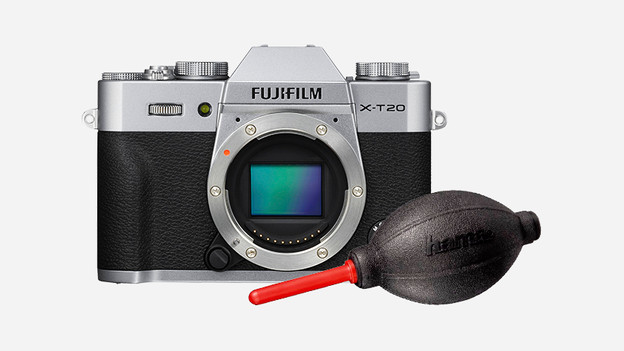
Most mirrorless cameras clean the image sensor after the camera shuts off. If you think some dust particles remained on the sensor, you can repeat the cleaning manually one more time. Look for the cleaning options for the image sensor in the settings menu. You'll find the option which makes the camera repeats the manual cleaning. The cleaning takes place by means of small vibrations which makes the dust particles shake off. Then take a test photo.

Step 2: remove the lens from the camera body
You still see some spots on the test photo. The sensor isn't clean yet. First, remove the lens from the camera. You can do this by pressing the button next to the lens and carefully removing the lens. Then place the lens in front of you with the opening facing down.

Step 3: blow the sensor clean with an air blower
Be careful when cleaning the image sensor, as it's very fragile. Don't use cotton swabs, dust cloths, or the tip of a T-shirt. These attributes only leave more dust behind. You also can't blow because of the saliva that's released. The best remedy is an air blower. Squeeze the air blower several times and make sure that air reaches the sensor through the nozzle. Repeat until the dust particles are blown away.

Step 4: take a test photo
Check if the cleaning was successful by taking a test photo. Put the lens back on the camera first. Take a picture of a white wall or a clear blue sky. This is where you can see the spots best. The sensor is clean if you don't see any spots. If the same spots are still visible, have the sensor cleaned professionally by a camera expert.

Step 1: repeat the automatic cleaning option
Not all SLR cameras have this function, but most cameras clean the image sensor after shutdown. If you suspect there's some dust on the sensor, repeat this step manually. You can do this by looking for the image sensor cleaning options in the settings. For example, Canon SLR cameras have the 'Clean now' option. By selecting this, the camera cleans the image sensor by means of small vibrations.

Step 2: select the manual cleaning option
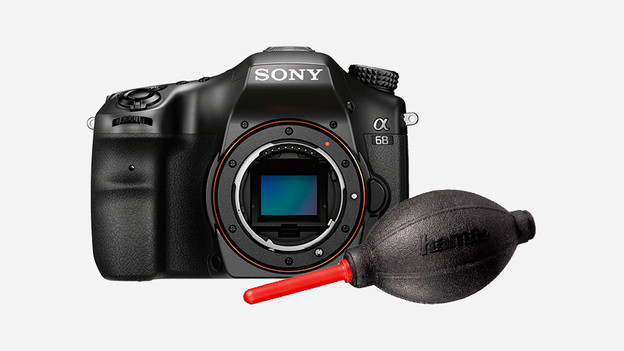
Unfortunately, step 1 didn't help much. Now it's time to clean the image sensor manually. An SLR camera always has the mirror in front of the image sensor. The mirror folds away as soon as you take a photo. It's also possible to fold it away manually. You can do this via the cleaning options in the settings menu of your camera. You'll find a manual image sensor cleaning option here. Select the options to clean the image sensor.

Step 3: remove the lens from the camera body
To get to the image sensor, you need to remove the lens from the camera. There's usually a button next to the lens to detach the lens from the body. Press this button and carefully twist the lens until it's released. Then place the lens in front of you with the opening downwards.

Step 4: blow the sensor clean with an air blower
Image sensors are very fragile, so be careful. Never blow the dust away yourself, as you'll release splatters which will only make it more dirty. Also, don't use cotton swabs or the tip of a T-shirt. This only makes it worse. A cleaning brush for cameras also isn't suitable for this. The best option is an air blower. Hold the pipe close to the sensor and squeeze a couple of times in the bellows until the dust particles are blown away.

Step 5: make a test photo
Put the lens back on the camera. To make sure the spots are gone, make a test photo. The best way to check is to make a photo against a clear blue sky or white wall. This is the best way to show the spots. If you don't see anything anymore, the sensor is clean. Do you still see something? Visit a camera expert and have the sensor cleaned professionally.
Article by Sanne
Camera Expert.
