

How do you set up your GoPro Hero 9 Black?
Get started with the GoPro HERO 9 Black
If you're recording with your GoPro HERO 9, you can set various settings. Read how to do this and how to get started with your action camera right away here.
- Step 1: Turn on the camera.
- Step 2: Set the general settings.
- Step 3: Format your memory card.
- Step 4: Choose the right image angle.
- Step 5: Set up the selfie screen.
- Step 6: Select the frame rate.
- Step 7: Download GoPro Quik.
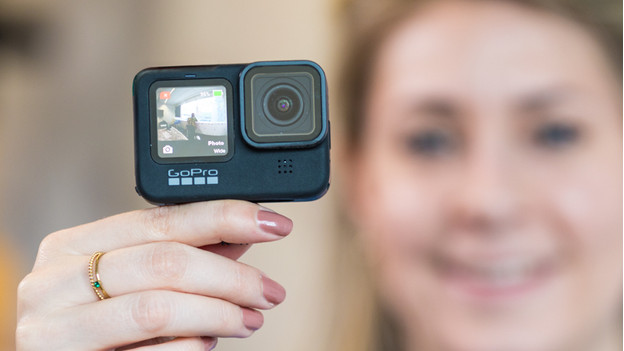
Step 1: prepare the camera
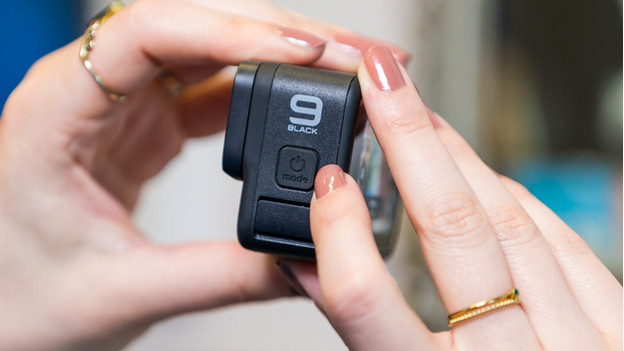
Before you can record with your GoPro HERO 9, you need a micro SD memory card where you can store your footage. There's a hatch on the side of the camera. You can open this by pulling the corner of the hatch down. Behind this hatch, you'll find the battery and memory card slot. That's where you can put your memory card and battery. Isn't the battery fully charged? Connect the USB cable, so the camera charges. Is the battery fully charged, and did you place the memory card? Turn the camera on. The power button is on the other side of the action camera.
Step: set the general settings
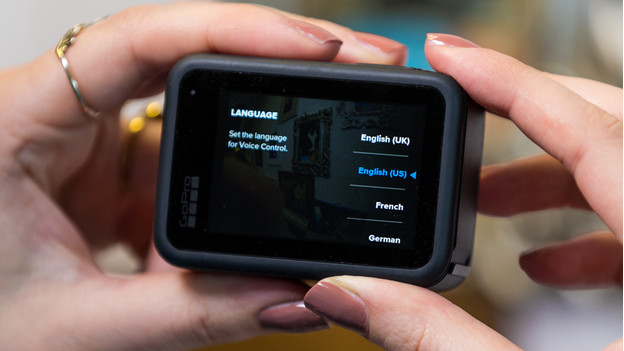
The camera starts and asks you for your language preference. Dutch isn't available for the GoPro. Choose a different language you know well, like English or French. Set the date and time afterwards. And if you want, you can give permission to share your GPS location. At the end of the settings, the camera asks you if you want a tour through the settings. Don't you know the camera that well? It's useful if you want to quickly learn how to use the camera.
Step 3: format your memory card
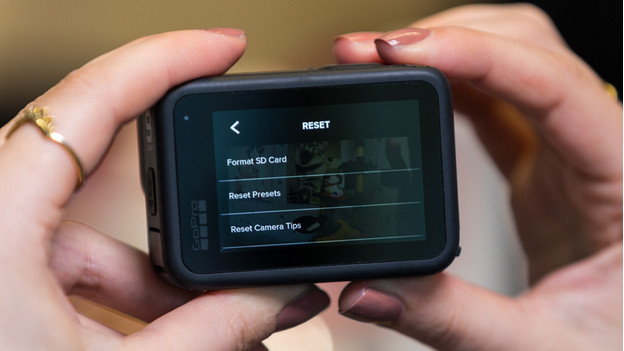
Before you record, we recommend to fully wipe the memory card. That's called formatting. This way, you delete all the files that might still be on there. You can now be sure that the memory card works effortlessly in your GoPro. Swipe down to go to the menu. Then, click Preferences, Reset, and go to Format SD Card. The action camera will now erase your memory card completely. Tip: check if there aren't any important files left on your memory card beforehand.
Step 4: choose the right image angle
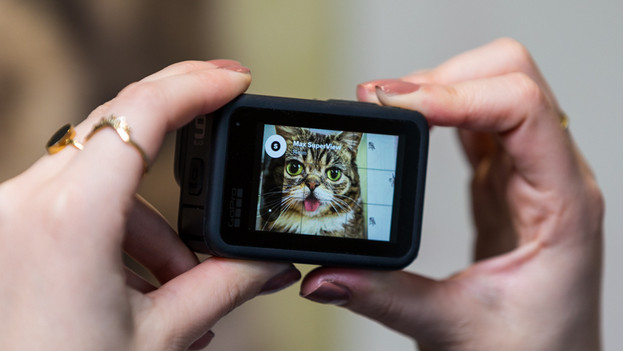
This action camera has 5 different digital lenses. Each lens has its own image angle. This way, you can choose the look of your video. The Superview lens has the widest image angle, so you can record a lot of your surroundings. This also results in the most distortion at the corners. You can compare it to the fisheye effect. The Wide lens has a more subtle wide-angle effect. Do you want little to no distortion in your image? Choose the Linear or Linear + Horizon leveling of Narrow lens. In the Horizon leveling mode, the camera automatically keeps the horizon in your image straight.
Step 5: set up the selfie screen
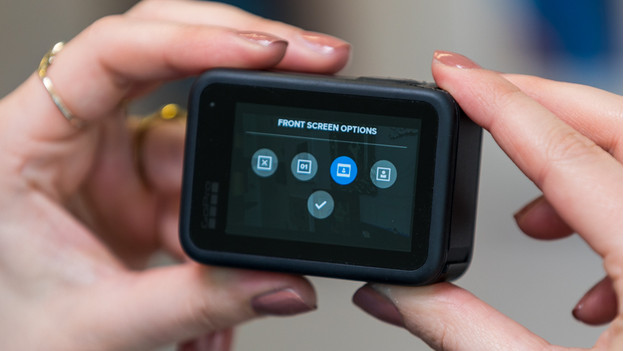
The HERO 9 has a screen at the front. On this screen, you can see what you're recording. That's useful if you like to take selfies and you want everybody in frame. Do you prefer to have control over your settings? You can set up this screen completely as you like. for example, you can display the shutter speed on the screen. Or you can disable this screen completely.
Step 6: choose the video resolution
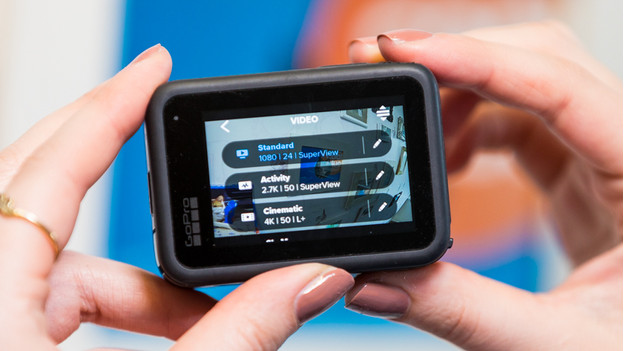
You can easily set the HERO 9 to various image sizes or resolutions. The largest size is 5K. This size has a 5120x2880p resolution. The higher the resolution, the more detailed the image is. The file size will also be larger. Keep that in mind if you record the whole day. Check if your screen can handle your chosen resolution beforehand. Isn't that the case? Record at a lower resolution, like Full HD 1080p. This size is suitable for most screens.
Step 7: download GoPro Quik
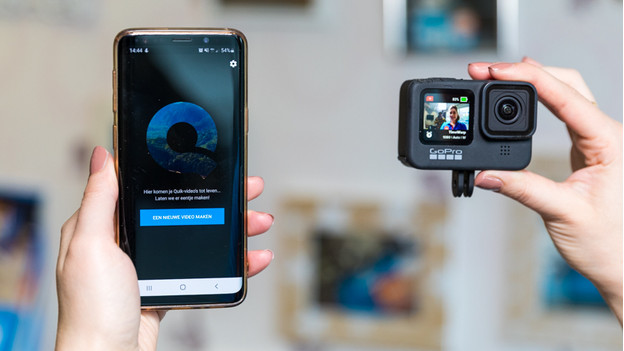
Did you make a nice video? It's time to edit it. You can edit your videos in the GoPro Quik app. Download the app from the Google Play Store or the Apple Store. This allows you to easily edit your photos and videos. In the app, you can also add music and adjust the colors with filters. You can then share the final videos directly on your social media.